

It's fast and simple, and I think it's pretty dang cute! This style is selling at Urban Outfitters for $28, but my version didn't cost a dime since I used an old necklace chain I already had and leftover fabric scraps.
You can make your bow whatever size you’d like—I wanted mine to be on the small side, so the measurements I give here will make a bow about 3” wide and 1 1/2” tall, but you can adapt it to whatever size sounds good to you. I think it would be really cute big, like 5 inches across, but I definitely wasn't brave enough to wear something that bold!
Click read more below if you'd like to make your own!
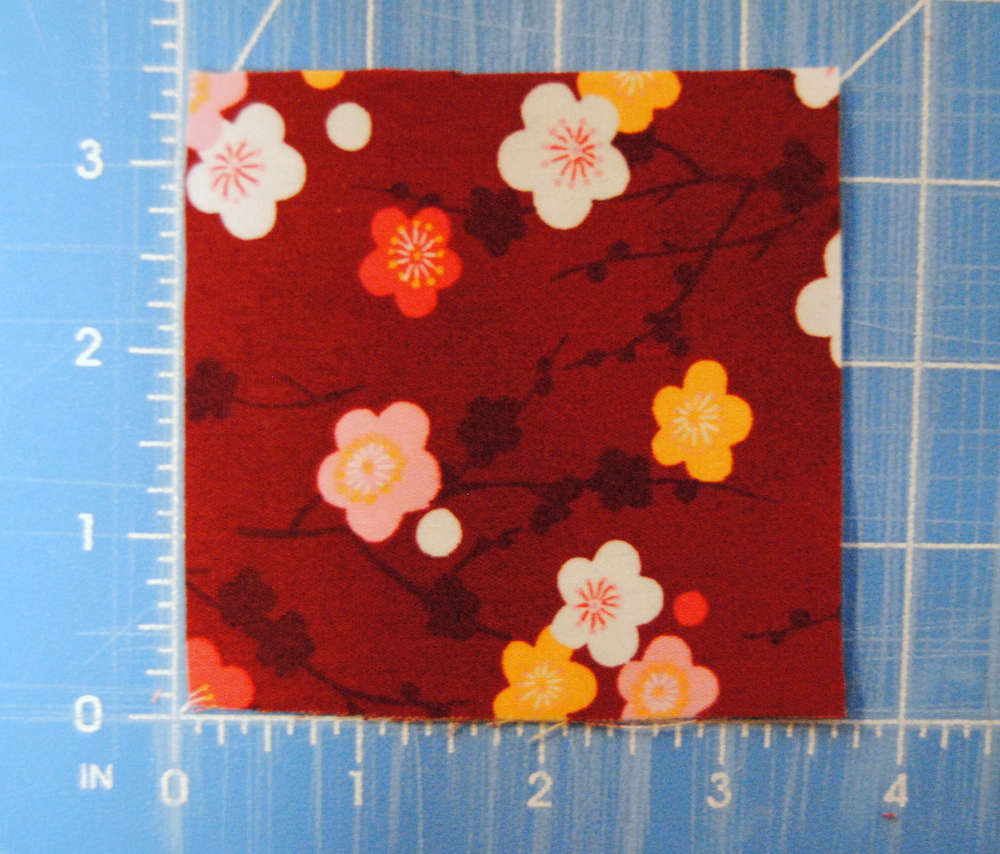
Start by cutting a square of fabric 3 ½” by 3 ½” (or change the size by cutting it the width you’d like it to be when finished, plus an additional ½” to allow for ¼” seam allowance on each side, and double the desired height and add ½”). If you’d like your bow to be a little sturdier, apply lightweight interfacing.
Iron your fabric, then fold it in half with the right sides together. You’ll need to sew around all three open edges, leaving an open space at the top to allow you to turn it inside out. Stitch ¼” from the edge, starting at one short end and sewing up the short end, around the corner, and about 1/3 of the way across the long end—stop sewing here, lift your presser foot and cut the thread, leave about an inch of space unsewn, and continue sewing across the final 1/3rd of the long end, around the corner, and down the other short end.

Trim your threads and cut the corners off of your fabric (make sure not to clip across your stitching!).

Turn the rectangle right side out through the opening at the top. Make sure the corners are pushed out, nice and pointy. Fold the unsewn, open portion down into the rectangle so it is level with the rest of the fabric, and iron.

Topstitch around all four sides as close to the edge as you can. Start your topstitching halfway through one of the long sides so the center piece of your bow will cover your starting and ending point.

Now you're done with the main bow piece! You should have a nice little rectangle with stitching around all the edges.

Now we need to make the little fabric piece that wraps around the center and keeps it tight in a bow shape.Cut a second rectangle, roughly 2" by 2 1/2" (or, if you're making a different size bow, double the width you want it to be and add 1/2" to that, and make it tall enough to wrap around your bow snugly with at least 1/2" to spare).

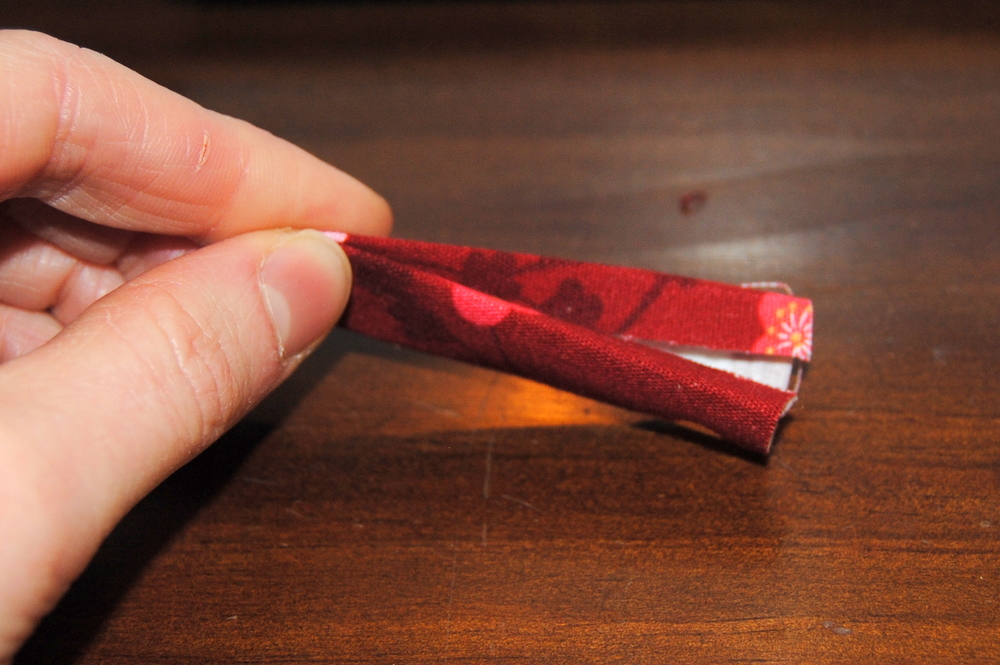
I don't know about you, but I hate trying to turn teeny tiny little loops of fabric right side out after sewing them into a tube, so I did this the lazy way . . . just fold in about 1/4" of each long side of the rectangle toward the wrong side of the fabric, like so:

Iron those sides down, if you're feeling ambitious, and fold it in half lengthwise:
Again, you can iron here (I didn't. Lazy.) Sew down the long ends only, close to the edge.

(As you can see, I probably should have ironed, since it's a little crooked. We'll pretend that's the camera angle. Oh well, it doesn't really matter.)
Fold it in half so the two short ends are touching, check the fit around your bow (it needs to be loose enough to be able to slip onto the short end of the bow, and also loose enough to be able to flip the whole center piece inside out to hide the sewn edge, so leave a little extra wiggle room), and sew the two short ends together. Trim off the extra fabric and flip it inside out so the seam is hidden inside.

Now just scoot it onto your rectangle and you have a sweet little bow!

You could stop here and attach this to hairclips, elastics, or pins to clip onto clothing. To make a necklace out of it, I used a chain from a necklace I made a while ago (and wore once), and just took off the pieces that I didn't want on this necklace, and clipped the whole thing in half--I left the little blue beads on the chain since I kind of liked how they made the necklace asymmetrical and contrasted with the color of the bow. If you want to add beads to your chain, just clip one side of the chain into thirds and place a few beads onto an eye pin and reattach to the chain.
Using a needle and thread, stitch the last link of the chain to the upper outer corner of your bow on each side, making sure that you're only sewing through the back layer of fabric and not all the way through to the front of the bow. Sew through it a few times to make sure it's secure, and trim your threads.

My chain was long enough to just slip over my head without needing a clasp, but if you made yours shorter than this, attach a clasp to the ends and you're good to go!

How easy was that?
I'm linking this tutorial at some fun parties--I love checking these sites our for great ideas!
Fingerprints on the Fridge
It's a Hodgepodge Life
504 Main
Tatertots and Jello
Whipperberry
and participating in this blog hop!

I'm linking this tutorial at some fun parties--I love checking these sites our for great ideas!
Fingerprints on the Fridge
It's a Hodgepodge Life
504 Main
Tatertots and Jello
Whipperberry
and participating in this blog hop!

Super cute! I totally need to get myself a sewing machine - i feel like i am missing out on so many projects!
ReplyDeletewhat a great tutorial! I don't have the tools for this project, but it's nice to see how easy it is if you do have sewing machine, etc.
ReplyDeleteI love bows. Thanks for sharing. I've actually been meaning to do something like this and never got around to it. I like th red print of the bow too-- bold but simple.
ReplyDeleteDana
This is awesome. Love it. I think I am adding this to my "to do" list this weekend. So simple and cute. Thanks for sharing
ReplyDeletehttp://itsybitsypaper.blogspot.com
That is the great thing about sewing. Much muuuuch cheaper.
ReplyDeleteI like it?? I make it!
Thanks for your nice comment at my blog. You got a pretty kickin' style over here ;)
This is super fun! Thank you for adding me to your Etsy circle. I <3 your shop! I also belong to the pale-vampire-white-skin club. Woot!
ReplyDelete=)
Sew cute!
ReplyDeleteHi Rachel- thanks for stopping by my blog! I appreciate the kind comments. This bowtie necklace is such a cute, fun idea! Thanks for sharing....
ReplyDeleteHope to see you around often!
this is adorable! thanks for the tute.
ReplyDeleteon my to do list.
abranconier.blogspot.com
I found you through ravelry, and I just love your blog! aimee
ReplyDeletetoo cute!
ReplyDeletexo, natasha
twenty-something blog
This is really fun! I'd love for you to submit this to the M&T Spotlight at http://www.makeandtakes.com/spotlight
ReplyDeleteOh that's super cute. I love it. And your dresses, dang girl. I need you to teach me to sew. Why can't any good crafty geniuses live near me?
ReplyDeletesuper super cute!
ReplyDeletePerfectly polished fun necklace! Doubles as work appropriate!
ReplyDelete-caroline @ c.w.frosting
I made this and it turned out great! Thanks for the tutorial! Check it out at my blog:
ReplyDeletehttp://lilmizzchatterbox.blogspot.com/2011/08/day-7-bowtie-necklace.html