
(this project was featured as a guest post yesterday over at The Bungalow Boutique . . . check it out!)
With spring and summer almost here (yippeeeeee!), I've been trying to think of ways to improve my normal warm weather outfit which pretty much consists of capris, tee, and sandals. Not terribly stylish, I know. I need simple, cute additions that will up the style factor without adding layers or too much time.
Enter the new star of my spring wardrobe, the ribbon flower belt! Recognize it from an earlier wish list post? It was $46 . . . yeah, my version cost maybe $1. Can I get a what-what for being a cheapskate? What what!
Enter the new star of my spring wardrobe, the ribbon flower belt! Recognize it from an earlier wish list post? It was $46 . . . yeah, my version cost maybe $1. Can I get a what-what for being a cheapskate? What what!

It's colorful, cute, fun, and a cinch to put together--you probably already have all the materials you'll need to make one. You'll be sporting your new belt in no time :-) And bonus, it's no-sew! Well, okay, that's a fib. But it's low-sew. Hurrah!
Click read more below to make your own!
Click read more below to make your own!
All you'll need is some ribbon, fabric (you could really use just about any fabric for this--I used some mystery fabric that's been hiding in my stash, awaiting its calling), thread, and a teeny bit of felt.
Start by cutting a small circle of felt (about 1 1/2-2 inches around)--you'll put the felt at the back of your flower and stitch the petals onto it, and it will add some weight and sturdiness to your flower.
Cut about 7-9 large circles (about 4") from your fabric and cut a slight scallop around the edges (I didn't cut the circles individually . . . I just folded the fabric quite a few times and cut once. It doesn't have to be perfect!).

Now cut 4-6 smaller circles (about 2-3") from your fabric, and scallop those edges as well.
Center 2 of your large circles on top of your felt and, using your needle and thread, stitch once or twice through the center, securing your circles onto the felt piece.
Now take another large circle and fold it in half, then in half again, creating a 4-layer triangle shape.

Repeat this 3 more times, arrange in a circle shape on top of your circle base with the center points overlapping, and stitch several times through all layers, securing the triangle-shaped petals.
(The picture shows just 3 of the petals stitched on . . . I sewed them on one at a time.)

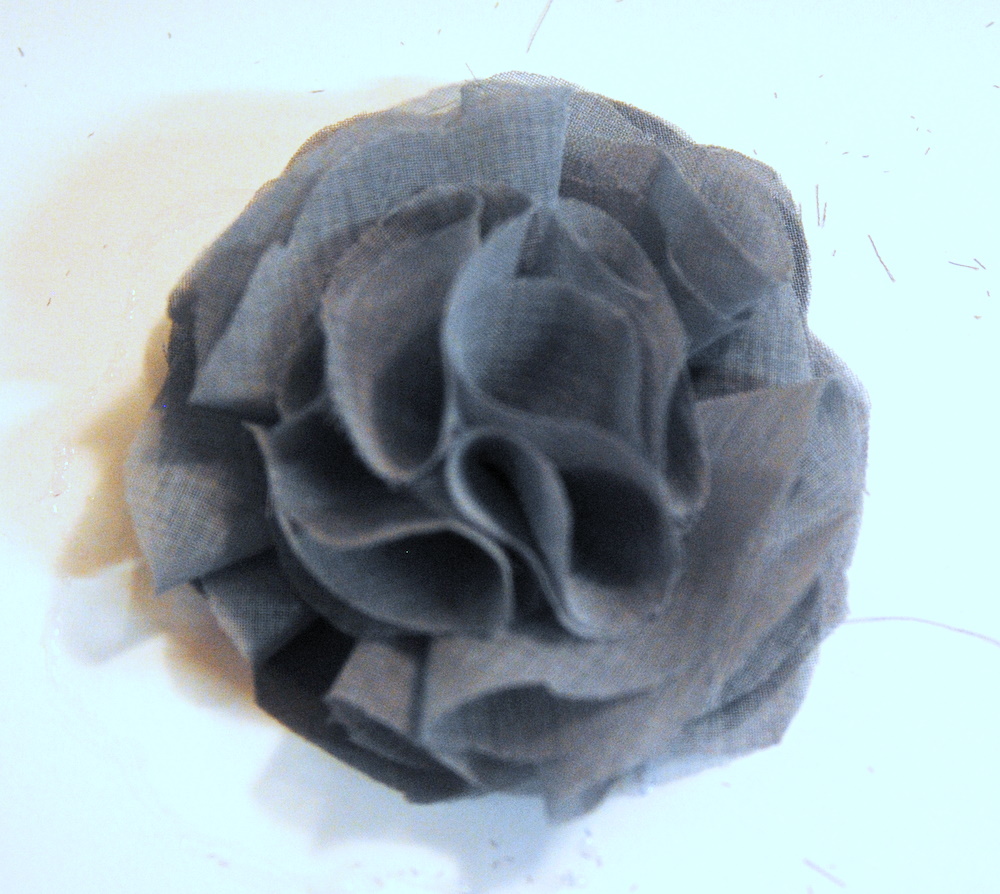
Using a combination of large and small circles, continue to double-fold your fabric and stitch it onto the flower until it is as full as you'd like. Stitch through all the layers a few times to make sure it's secure, and repeat for a second flower!
Now wrap a ribbon around your waist and cut it to the length you'd like, making sure to leave enough room to tie it and have some ribbon hanging down. Cut the ribbon ends on a diagonal and, if you'd like, run the edges over a flame to seal them and prevent fraying.
Tie the ribbon on and mark where you'd like the flowers to sit. Using your needle and thread, stitch through the felt onto the ribbon to attach the flower to your belt.
That's it! Now you have a super trendy ribbon belt to jazz up your blah summer outfits!

Not bad, eh? I love it!
Linking up here and at Color Chic!

Have a wedding soon and this might look cute on the dress I have. I just might have to try it. :) Thanks!
ReplyDeleteGreat idea!
ReplyDeleteBeautiful!
ReplyDeleteLove the tutorial/step-by-step! ♥
Mary
http://www.marycnasser.com/blog.html
Super cute! I have some sashes very similar to this that are going in my shop soon. Great minds think alike!
ReplyDeleteI have made something similar before. Really cute and fun to make! I love a bit of bright color to break up a plain outfit:)
ReplyDeleteSo cute!!!
ReplyDeleteOh, I LOVE this! Uber cute! And you can you use with so many different outfits!
ReplyDeleteSo cute! Looks like something I might find at Anthropologie... and I LOVE Anthropologie (who doesn't?)
ReplyDeleteHope you have a wonderful day!
B.
That Girl in Pearls
Perfect! Not only simple but also inexpensive to make. Can't get any better than that.
ReplyDeleteWow that's so pretty! Nice job!
ReplyDeleteGorgeous and very creative!
ReplyDeletei love the flower, I think that sort of flower could be used for so many crafty projects. You've got my mind whizzing now!
ReplyDeleteThank you for stopping by mine the other day, I have done a crochet bobble stitch tutorial now if ever you are looking for one.
By the way, your hair style is gorgeous and suits you so well.
xxx
So cute and simple! Perfect to jazz up the wardrobe a bit :)
ReplyDeleteThis is super cute and very spring worthy! I might have to give this a try...of course, I'll have to actually learn to use the sewing machine sitting in my office. ;)
ReplyDeleteI really think you should link this up at Color Chic for a chance at our giveaway prize! After all we love Satin!
ReplyDelete