
Alternate title: I'm Booking a Cruise With the Money I Saved on This One.
I'm normally not a huge fan of clothes with words on them (unless they're huge and pink and splayed across my behind, of course), but this top is an exception. It just doesn't have that "look, my shirt is speaking for me" vibe that I usually get from graphic-type tees, and it won me over with the cute floral print:

Isn't that cool? I really like the mix of rough and sweet. And I know, I know, you're thinking, "Another Delia's knockoff? Seriously?" But hey, if they're going to keep sending me catalogs, I'm going to keep knocking off their clothes. I need something to flip through while I eat my Cap'n Crunch in the morning.
The original shirt isn't even very expensive--$19.50--but my frugality knows no bounds. And part of me refuses to pay for something I could make myself purely on principle. Sure, I could have bought that shirt from Delia's . . . but to know that I could so easily make it for under $5? Buying it with that knowledge would kind of be a slap in the crafty face. So I made it.

Like it? It cost me $3. And that $16.50 I saved is really going to make a dent in our student debt, let me tell you. When we finish repaying those loans precisely 1 hour ahead of when we otherwise would have, thanks to that $16.50 I saved, I'm going to buy myself some ice cream.
I think you should make one, don't you agree? And although step-by-step instructions probably aren't necessary for this one (you could pretty much look at the picture and know what I did), I made them anyway. What can I say, I guess I like to hear myself talk (or type?). Click read more and get to work!
What you'll need:
- a tank or tee (I bought mine off the clearance rack at Walmart for $2, and if you shop at my Walmart, I apologize . . . I bought all of them. Expect many more plain tee refashions in the near future.)
- some floral fabric (I used another Walmart clearance top that was on sale for $1)
- Heat n Bond, or another fusible web
My shirt had some pretty funky sleeves that needed fixing:

Weird, right? Still worth my $2, but weird. I just laid another top with normal sleeves on top of it and pinned it where I wanted the seam to be, and sewed it up.

I used this $1 Walmart clearance top for my floral fabric letters:
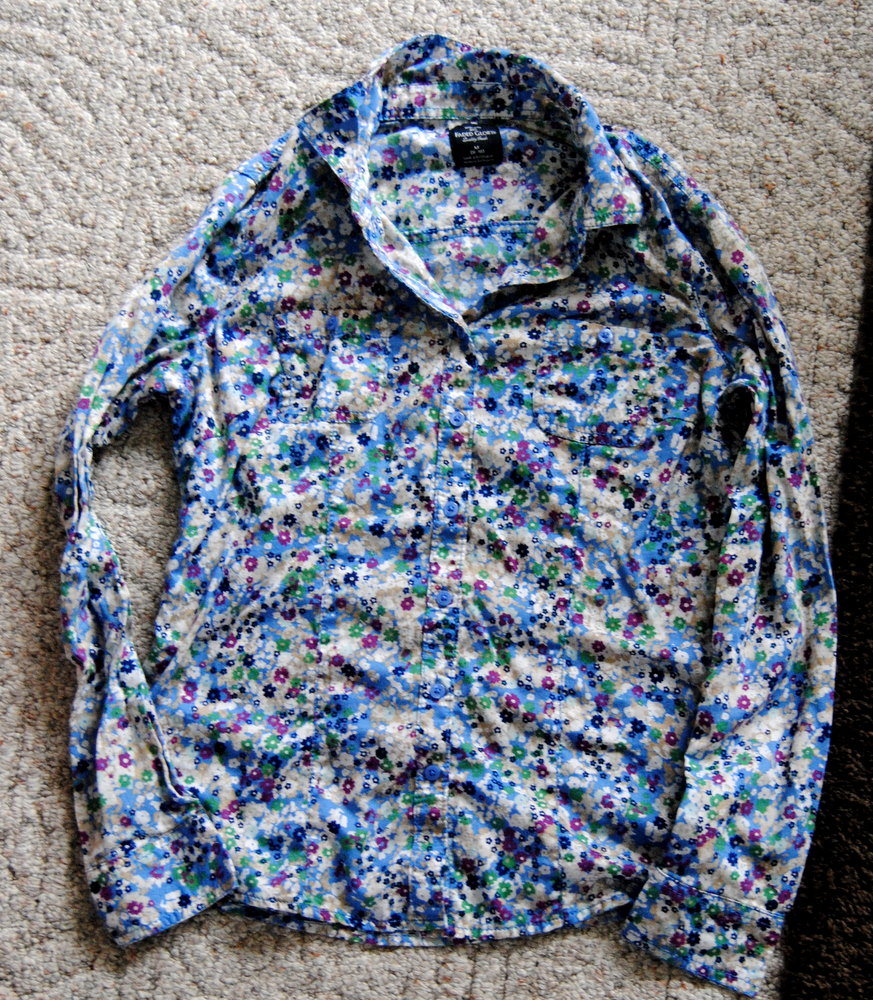
(Just a tip--keep your eye out for fabric in unexpected places! At the thrift store or in bargain bins or clearance sections, just buy the biggest size you can in prints that you like, and you've got some great, cheap fabric to work with! I really love the little floral print on this top, and I only used 1 sleeve of it for this shirt--I have so much more cute bargain fabric to play with!)
I removed one sleeve, cut off the cuff, and cut along the seam to open it into a big flat panel of fabric for my letters. Apply your Heat n Bond to the wrong side of the fabric.
I wrote out my letters by hand on cardstock to use as a template before I cut into my fabric--remember that all your letters need to be drawn backwards on the Heat n Bond so you can flip them over and iron them right side up on your shirt! So cut large letters from cardstock and put them on the paper side of the Heat n Bond backwards, then trace around them and cut out your shapes.

Remove the paper backing from the fabric, lay them down how you want them on your top, and iron them on securely.

Now stitch around the edges of the letters--I used black thread because I liked the idea of really visible stitching--and put 'er on!

Linking up here and here!

Cute idea!! I buy wal-mart clearance shirts all the time... I like to know there is someone else out there grabbing up all of those good deals for another use too!!! :)
ReplyDeleteThis is adorable! How could you not want to wear this?!? I love it!
ReplyDeleteSo cute!!! ....and I luvs cheap!!!!!
ReplyDeleteReally cute and so simple. This seems like a fun weekend project. There's no Walmart near me, but I've probably got some old shirts I could part with...
ReplyDeleteSuper cute! And it will be totally worth it when you get that ice cream ;)
ReplyDeleteSo... I totally bought that floral shirt at walmart for $8. I'm so mad you found it for $1!!! LOL :)
ReplyDeleteOoh I love this! And what a great idea - using shirts for the fabric!
ReplyDeleteHeather @ Catfish Kisses
catfish_kisses@yahoo.com
Love! This is exactly why we make things ourselves. I used to shop at Delia's all the time when I was in high school, and even back then $19.50 was kind of cheap for one of their shirts. I don't get why they're so pricey.
ReplyDeleteWhoa, Rachel, you must be making the big bucks on Etsy to upgrade from Berry Colossal Crunch to the real deal Cap'n. :)
ReplyDeleteI am with you...not normally a fan of "wordy" shirts....but this one is lovely.
ReplyDeleteDarling shirt!!
ReplyDelete"Come along Dear, Let's see your arse" said in a posh British accent! i'm referring, of course to your hottie sweat pants. Cute top. xxx
ReplyDeleteIm pretty much in love with this posting!!! I would wear that for sure!!
ReplyDeleteapril
xoxo
You know, I have never once thought of buying a $1 Walmart shirt just for the fabric. You are brilliant (and adorable)!
ReplyDeleteoh, and cheap!
ReplyDeleteOh I'm so impressed. I love it!
ReplyDeleteLike Like Like!!! :-)Such a great but simple idea:-)
ReplyDeleteEleni
This is so darn cute. I like yours better than the inspiration.
ReplyDeleteAwesome knock off!! Ok, maybe not quite as cool as a pair of sweet glitter hottie sweatpants, but pretty close ;) And I sooo need some new t shirts - can't wait to knock off your knock off!
ReplyDeleteVery cute!
ReplyDeleteWhat a great knockoff! I love the shirt and the fabric you picked for the lettering. Super cute!
ReplyDeleteRachel, I felt kinda terrible when I saw your comment! I'm sorry for the tease. :-) Love your shirt. It appears that I must become familiar with this Delia's place.
ReplyDeleteHey, thanks for stopping by! That shirt ROCKS! I'm not a words on my shirts fan either, but I would definitely wear yours!
ReplyDeleteGreat idea! And hey, at our age 16 bucks in the bank with just a little bit of interest will be nearly 100 dollars by the time we retire, so ya, it was worth it!
ReplyDeleteHahhah! Freakin comedian you are! Great knockoff!
ReplyDeleteI truly love it!!! SUPER CUTEEEEEEEEEEE. Happy Monday.
ReplyDeleteI want one! ;-)
ReplyDeleteSO CUTE!!! I want one too! :)
ReplyDeleteFabulous, as always!
ReplyDeleteVICTORY! Something absolutely fabulous that I myself can make! Smooches to you for sharing this nifty idea!!!
ReplyDeleterainbowandsunshineproject.blogspot.com
really cute, and so easy! This is definitely something I would make for myself.
ReplyDeleteI am going to have to try this, soo cute. My mom is a sewer and she bought me a sewing machine for Christmas a couple of years ago and it's still in the box. I saw a pretty tee with strips of lace on it at (http://kojodesigns.blogspot.com/2011/04/sincerest-form-of-flattery-guest_19.html) don't know if you like lace but it's a cute idea too.
ReplyDeleteOh my gosh great minds think alike!! I was JUST looking at this top thinking how I love it... and then thought "but I could make it myself" so didn't buy it... and you've just proved me right!! =) x
ReplyDeleteobviously you don't need another comment on your blog but whatev -
ReplyDeleteI just wanted to say that I really love your haircut. Did I tell you that already? Like LOVE it. You look incredible.
That is all.
OH and also, what type of camera do you have? I lika dem pics.
1. Your shirt is adorable.
ReplyDelete2. This post was hilarious. I completely understand the importance of that 1 hour you gained on your student loans. 100% understand!
You crack me up. I think I laugh out loud ( I refuse to write LOL) every time I read your posts.
ReplyDeleteYour dripping sarcasm is so funny.
Oh, and I totally love PINK across my butt. You DON"T??
Good job on the knockoff. Is it not so satisfying to save $$?
I love it! Awesome job!
ReplyDeleteBy the way, you crack me up! Can't wait to keep following all your great posts!
too cute!
ReplyDeleteSuper cute! I used tog et the Delia's catalog- might have to start subcribing again. Thanks for the inspiration!
ReplyDeleteYour post reminded me of me..why buy it f I can make it for less??? And don't even get me started on the student loans....
ReplyDeleteps---Love the shirt...I wonder if it could be made in a maternity version...but I me and maternity clothes isn't a subject to go into either...
Oh man! You are just so crafty and cute! I saw this tee, definitely wish I had the skillz to craft something up like it! Maybe Ill make it a summer project! Turned out beautifully and now you could pick the colors, so thats a definite plus!
ReplyDeleteI love it! it turned out great!
ReplyDeleteI loveww this shirt! I need to try this definitely!
ReplyDeleteWhat a superb idea!!!! I can't wait to give it a try. Thanks for sharing.
ReplyDeleteSo cute!!! I need to get me that delia's magazine!
ReplyDeleteI also need to hoard clearence shirts for projects like this!
Thanks for linking up to thrifty thursdays~
I love it!! I linked to your tutorial on Craft Gossip Sewing:
ReplyDeletehttp://sewing.craftgossip.com/tutorial-floral-love-applique-tee/2011/04/21/
--Anne
Wow that's so cool looking! I wanna see the matching sweatpants :D
ReplyDeleteHow cute! I love how you made yours with blue fabric. Great job!
ReplyDeleteI luv luv your tee, you are featured on passionately artistic this week. You are featured here
ReplyDeletehttp://www.passionatelyartistic.com/2011/04/celebrating-your-talent-with-linking.html
Hope to see you again this week.
Maggie
http://passionatelyartistic.com
this is a super cute shirt and your hair is so awesome! I wish I could pull that off!
ReplyDeleteLove this!!! such a cute idea. I'm gonna go through some of my clothes that I don't care for as much and see if there's anything I can cut up and fix up :) thanks for the inspiration!
ReplyDeleteWe really love your blog !
ReplyDeleteYour DIY's are just awesome !
Afaf and Marwa
Http://AfafandMarwa.blogspot.com
Come and visit our blog, you will not regret it ;)