
I was working on a little project this morning that I'm so excited to finish up and put on here (not because it's all that spectacular, really, but because it's a gift for a friend that I'm excited to give her!), and, well, I went a little Mod Podge crazy. Can you blame me? The stuff is incredible. I was Mod Podging (can "podge" be a verb? I podge, you podge, he/she podges . . . ) project #1, which hopefully I'll finish and be able to show off soon, and I was having so much fun podging (yes, podging) that I started another quick project while waiting for the first one to dry.
Here is (some of) the result of my podgetastic morning:

I love my new Mod Podge map picture frame!
(and look! I had hair!)
(Want to know a little secret? I couldn't wait for it to dry completely to see it in action, so that picture is now permanently bonded with the frame. Oh well.)
Here's what you'll need:

- a few atlas/map pages
- handy dandy Mod Podge
- brush
- basic flat frame
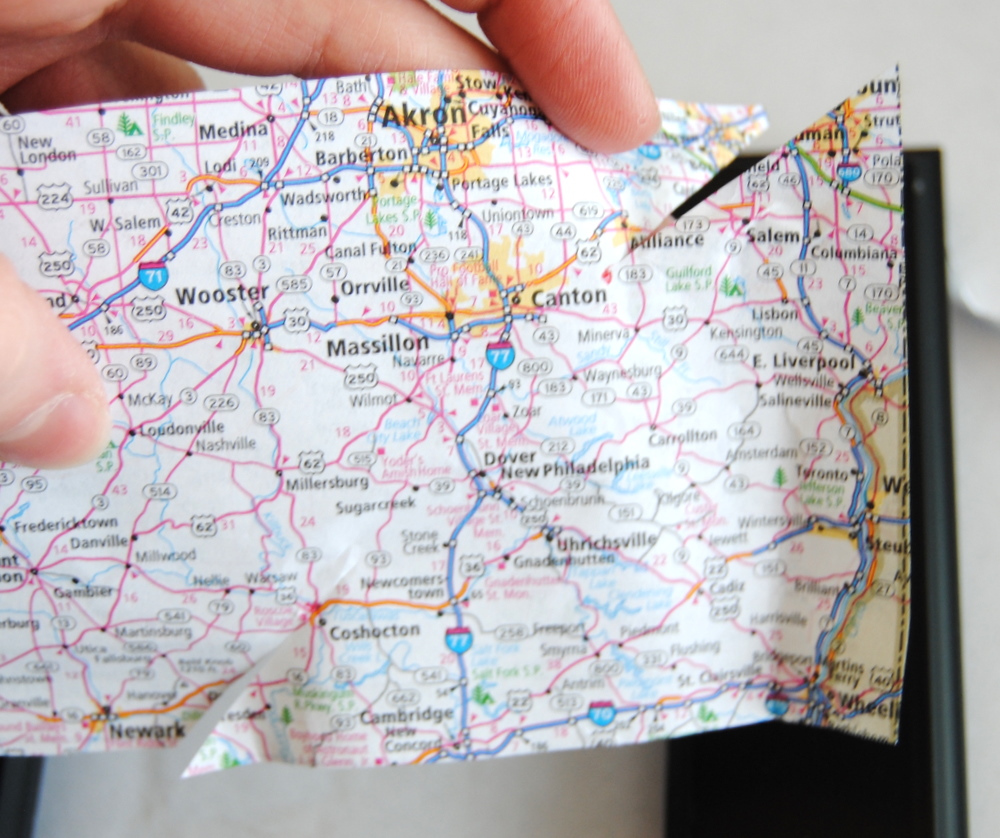
1. Start by ripping a page from your atlas . . . I guess you should choose a state you don't plan on visiting (sorry Ohio, Nebraska, and North Carolina. I'm sure you're great and all, but I don't plan on vacationing with you anytime soon.).
Gently fold the page around the corners of one frame side and cut at least 1/4-1/2 inch away from the mark (so you have room to fold the extra paper onto the back of the frame--you don't want any scruffy edges showing)--you'll end up with a rectangle that should be a bit larger than the side of the frame you're about to cover.

2.With your cut piece laid on top of the frame, make a little mark at the inside and outside corners of the frame:

and cut diagonally from the edge of the map to the marking:
Repeat for the other side of that frame edge.
3. Apple a layer of Mod Podge to the frame and press your map on well, making sure that the diagonal cuts are lined up on the corners of the frame.

Apply Mod Podge to the sides of the frame, too, and press the paper on, folding over the corner pieces.

Repeat for the opposite side of the frame.
4.Cut another map piece long enough to cover the exposed frame sides, making sure that it's wide enough to wrap around the sides of the frame. (Just a note: make sure all your map pieces are facing the same direction, unless you don't mind having the street and city names upside down on one side of your frame. Amazingly enough, I didn't make that mistake. I know, I'm improving, right?)

Podge 'er down, and repeat.
5. Trim any excess paper hanging around on the back of the frame, and apply a layer of Mod Podge to cover the front of the frame.

Let it dry (or not, if you just can't wait and don't mind your photo permanently becoming one with your frame), and put it up for display!

There we go! I think this would make a great gift for a new neighbor or a friend moving away, using a map of your town. It would also be really cool made with newspaper or sheet music or just cool scrapbook paper . . . and may the Mod Podge fun never end.
If you liked this project, make sure to become a follower so you don't miss anything!
Linking up here!

Rachel this is awesome! I love the final look of it and really want to try it soon. Just last night I saw another map project by Creative Juices Decor and now yours--oh my, I think I'll be stopping at goodwill for some old maps :)Thanks for posting the tutorial! I laughed at your hair comment bc I have gone from long to short (just like your current hair) so many times! I am "trying" to grow my hair long but I know the next time I go in for a trim, I will come out lookin like Tink again! Thanks again Rachel for a fabulous idea! Have a good day!
ReplyDeleteHaha! You are having quite the podge-tastic day! ;) Love it! Of course, I'm a big ol' sucker for Mod Podge projects too. Thanks for linking up!
ReplyDeleteLOVE THIS...SOOO CUTE
ReplyDeleteCute! I think I'll make a map frame using Wyoming. That's a state I wouldn't mind never driving through again...
ReplyDeleteI love this idea... last year for Easter we modge podged eggs. I never thought about doing a frame!
ReplyDeleteThat's adorable! Makes me want to glue a map on everything now.
ReplyDeleteYou're a stellar modge podger!!! (yes he/she podges) ;P
ReplyDeletexoxo,
Lori
This is a fun idea! And I, for one, think "podging" is an acceptable verb. :P
ReplyDeleteI love this idea! I haven't "podged" since I was a little girl, but I'm putting it on my shopping list for sure. And I am the exact same way with waiting for things to dry!
ReplyDeleteGreat picture frame! I love map projects! I still haven't tried this wonder podge stuff - I really must get myself some! I feel like I'm missing out!
ReplyDeleteI would love if you came over and linked this project to my weekly Round Tuit party at:
http://jembellish.blogspot.com/
Have a great week!
Jill @ Creating my way to Success
Cute cute cute!!! Great idea, and I think book pages would work nicely, too!
ReplyDeleteCute!!! Sheet music - great idea!! And scrapbook paper. How about using a bunch of different scrapbook papers so it looks like a quilt?
ReplyDeleteIt's so cute! I love mod podge too. Your project gives me an idea. I think a frame would be cute done with sheet music too. Thanks for sharing Rachel.
ReplyDeleteI just ran across your blog and this post on Sew Much Ado. I love this picture frame! I'd love if you stop by SewWoodsy.blogspot.com and link up this project and others!
ReplyDeleteThat's an adorable idea! It would totally cute done with some of those theme park maps that are all cartoonish for a memorable family vacation frame...must put this on my ever-growing projects list!!
ReplyDeleteYes, "podge" is absolutely a verb! It's addicting, isn't it? Especially when you can pretty much "podge" anything that's standing still! I suppose our hubbys should be afraid--very afraid! They just might end up podged! : )
ReplyDeleteWow, your frame looks awesome! I can't believe I haven't worked with Mod Podge yet! Your project is just the push I needed!!!
ReplyDeletelovely idea, thank you for the tutorial! Hoping your weekend is a happy one. Hugs, Katherine
ReplyDeleteLOVE that frame - what a great idea!! Thanks for sharing :)
ReplyDeleteps - I'm your newest follower :)
Thanks for the kind comment, thanks again for the amazing tutorial (headband) and yes, you are welcome to use my pic for your page. I realize now I should have asked you first before I linked you on my page...Sorry! I am new at blogging etiquette. Thanks for being so cool! (PS: I had no idea where to respond to your question on my blog, so I chose...right here.) XO
ReplyDeleteYay Rachel! Thank you. I am in the process of decorating my son's room with a vintage airplane theme and want to incorporate some maps..I can totally do this! And really, who needs Nebraska? JK!
ReplyDeleteSo cute! I just love mod podge! I'm loving exploring your blog...am now a new follower!
ReplyDeleteKristen
Turning a House into a Home
super cute frame!
ReplyDeleteLOVED IT!! A GOOD IDEA FOR MY LOVE THNX FOR SHARING :D
ReplyDeleteAdorable!!! I love maps =)
ReplyDeleteMaking a variation of this right now! So excited!
ReplyDeleteI work at a job where my coworkers and I travel throughout the US doing volunteer work. I podged each frame with a map from one of the locations each person had visited during the year. They were the perfect end of year gifts! Thanks for the idea! :)
ReplyDelete