
(You can see the first part of my etsy success tips here!)
All right! Part 2! So after reading my tips for getting your shop in order, you should have a lovely-looking shop that's stuffed to the gills with amazing photos of . . . your product. Dun-dun-DUUUUUUNNNNN! (Was that sufficiently dramatic? It was supposed to be the spelled-out version of this, which was the first hit when I googled "dun dun DUN." Oh, Google, you never let me down!)
Search it, baby!
Very few people are going to head straight to your shop to buy what they need . . . most customers are going to find you through the etsy search, so make sure your items are searchable! If you feel like being an all-star, you can learn about search engine optimization. I don't really know what that entails. I just try to help etsy's search work for me.

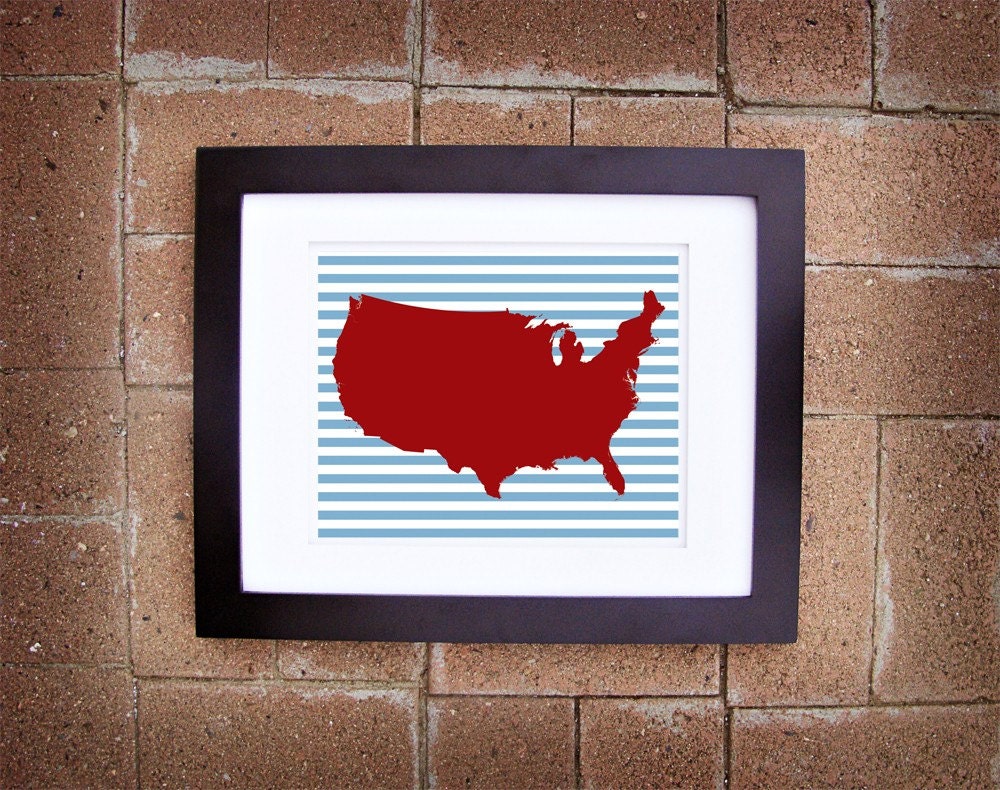
It's tempting to use cutesy titles for your products, which I did when I started out, but I don't think it does anything for you. For instance, I would try to give my quilts fun names (exhibit A, my Pure Joy Butterfly Quilt pictured above), but that's kind of a waste. Who's going to head to etsy and type "pure joy quilt" into the search bar? Give your items titles that could match what your buyers might type in to find it. Instead of calling something "The Pure Joy Butterfly Quilt," which no one in a million years is ever going to search for, name it "Baby Girl White Quilt with Pink Purple and Green Butterflies." It's not flashy, it's not cute, but it is descriptive and contains the sort of words buyers might actually include in their searches.

When you list an item on etsy, you can use 5 photos and 13 tags (which etsy's search uses to find your item). Use. Them. ALL! Maybe you already have 2 photos that you think adequately show your product . . . but why waste that free space? Take a really close detail shot of your product, show how you package it so buyers know if it's ready to give as a gift (a photo like this has often been the final straw that got me to buy something--knowing it would arrive beautifully packaged and ready to give away!), show it being used, show it being displayed, show it being worn, and so on. And tag that sucker! Let's say I'm listing one of my baby bear hats. Some obvious tags come to mind: baby, hat, crochet . . . now what? Think of what people could potentially be searching for when they stumble across this hat--how about newborn? Infant? Toddler? Animal hat? Critter? Ears? Cream? White? Beanie? Cap? Winter hat? Accessory? Earflaps? Boy? Girl? Get creative and use tags that describe your item in a less obvious way.
Renew, renew, renew
Listing an item costs 20 cents and keeps your item live for a few months. So why would you want to renew your listings before they expire? Sellers are adding new items to their shops every minute, and newer listings show up at the top of the search while older items get pushed back to page 2, 3, 4 . . . or 40, 50, 60. So your latest item that was right up at the top of the search page when you listed it an hour ago is old news by now, and a buyer would have to click through pages of listings before finding yours.
If you want your products to keep showing up near the top of the search, you'll need to renew them on occasion. Renewing costs 20 cents, the same as creating a new listing, so you can't go crazy renewing every item every day or you'll never make any money. But every now and then, pick an older item in your shop and renew it just so it comes up higher in the search. I've often had items sit unwanted in my shop for weeks and weeks, then renewed them on a whim and had them sold within a few hours.
Give 'em options
One thing I've learned in my time on etsy is that buyers love having choices. I can't tell you how many times I've crocheted a hat, listed it, and almost immediately gotten a message that said, "I love this hat! Can I have it in brown?" or "This is so cute! Can I have it made for my 3-year old?" Shoppers love being able to customize an item to fit their style and needs, so give them some options!

Can it be made in different colors? Different sizes? Different finishes? Different fabrics? Different fonts? Let your shoppers know that you're happy to create custom orders just for them, and you'll be amazed at the difference. I have quite a few products still sitting around my house because no one wanted it in the color or size I chose, but I've recreated them dozens of times as custom orders for people who wanted it in white, or black, or green, or an adult size, or made specifically to fit someone's extra big or extra small head or hands. I've had so many requests for items in colors I never would have thought of using (like hats with bear ears in bright pink and blue), but they come out adorable and the customers loved them . . . because they couldn't find what they wanted anywhere else. Be the one to offer them exactly what they want!
Find a cute model
This one sounds shallow, and maybe it is, but I think it really makes a difference. If your item is wearable, always always always use a model in your photos to show it being worn. I would be a thousand times more likely to buy a hat pictured on a child than a hat just sitting there all lonely-like. And if it's pictured on a cute child? Sold!

In a perfect world, it wouldn't matter if your model is good-looking . . . but, shallowly enough, I think it really does. If you don't feel comfortable modeling your own items, I'm sure you have siblings or friends who would be happy to be the face of your shop.
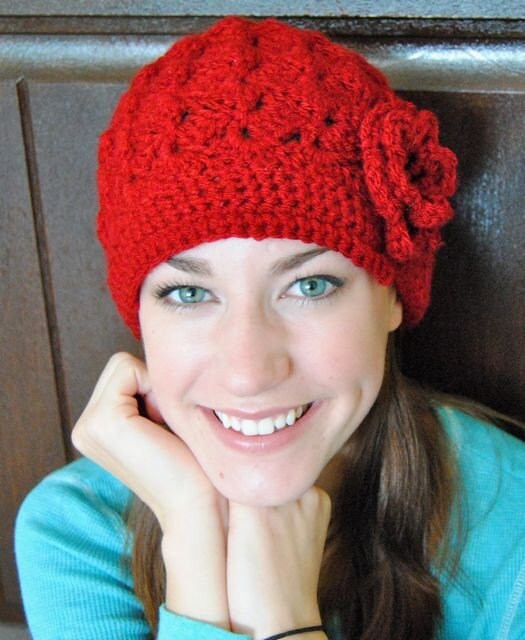
My pretty sister models for me on occasion and had this hat sold within a few hours!
Or maybe you don't have a little one to model your baby items . . . do you have a neighbor with kids? (The little cutie in the green hat above is one of my best friends' daughters who got bribed into being my model with a lollipop.) Or do you know a photographer who works with babies who could use your items in their shoots? (Bonus tip: offer a special coupon code for photographers in exchange for photos of your products to use in your shop! I've gotten some beautiful photos that way, and they get advertising through their watermark or a link to their site displayed in my shop.) Find some cute people and snap some pictures of them wearing your work!
Show me the money
I think setting your prices is one of the trickiest parts of running an etsy shop . . . charge too little and buyers will think you're making junk (not to mention that you'll go out of business if you never make anything!), but charge too much and you'll never have any customers. I've seen formulas here and there to help you figure out how much to charge. They generally look something like this:
(Labor + Materials) x 2 = Wholesale Price
Wholesale Price x 2 = Retail Price
But how much is your labor worth? And do you know exactly how much you're spending on materials? Are you including the price of the gas to drive to the store, your shopping time, and shipping supplies in your materials cost? I don't think most etsy sellers are really following this formula . . . if I set my prices by that model, I'd be charging at least $75 per hat, and I'd probably still be waiting for my first sale. Instead, I search etsy for items similar to mine to see what an average price seems to be and set my prices accordingly. But again, if you go too low, people will think you're selling junk and not take you seriously, and if you go too high, you'll never sell anything. So decide what price makes selling worth it to you and go with it. This will probably take some adjustment . . . when I started selling hats, I had them priced at $10 each. Sure, they were selling, but it stopped being fun pretty quickly because it hardly felt worth my time. So I played around with pricing until I found a number that was still selling well but didn't leave me feeling taken advantage of. Figure out a number that makes it worth it to you.
All right! I'll get cracking on my last post for etsy success . . . things you could be doing behind the scenes that I think make all the difference!
All right! I'll get cracking on my last post for etsy success . . . things you could be doing behind the scenes that I think make all the difference!

thanks for this post! There was some really helpful tips in there :)
ReplyDeleteThanks for the tips Rachel, I will put them into practice...
ReplyDeleteThis is some more great advice. Thanks for taking the time to share it all.
ReplyDeleteBoth of your posts on Etsy success are fantastic! Can't wait to read the next one!
ReplyDeleteThanks so much for the tips! I have been contemplating starting an Etsy shop for a while, and posts like these go straight to my files for future reference. =)
ReplyDeleteLookie Lookie!!!! http://runwithglitter.blogspot.com/2011/06/lip-balm-kit-winner.html
ReplyDeleteWill you send me your address please :) xoxo
Great tips Rachel!! :)
ReplyDeletePS: The post is live!! Whew! Thanks for guesting for us today!! XOXOXO
Hi Rachel! I'm new here from Lolly Jane and now your newest follower!
ReplyDeleteI recently started sewing and have just fallen in love with it! Your tutorials look amazing and I can't wait to read more!
These are certainly great tips. But, I'm drooling over the print and the hats....
ReplyDeleteWas that your intention? ;)
I am loving your blog! I have been a follower for a while now. I would love it if you would stop by my blog and become my newest follower! Thanks for all the fun stuff!
ReplyDelete