Maybe Matilda: girl
Showing posts with label girl. Show all posts

Friday, July 18, 2014

10 Minute No-Sew Barefoot Sandals

I kind of expected that I’d go a little nuts on baby shoes when expecting a girl. Shoes are, of course, the most adorable thing that can be purchased for a baby, and this is an indisputable universal fact. But here we are, almost 9 months into this whole raising-a-daughter thing and Darcy owns 3ish pairs of shoes. Impressive, no? None of these 3 pairs, however, matched her outfit for Bekah’s wedding, and you know how cheap I am, so I figured I’d see if I could DIY something that look cute with her outfit without pinching her fat little feet or costing much.

And my gosh, they turned out darling.

Get the tutorial to make these easy no-sew Glitter Bow Baby Barefoot Sandals!

Add barefoot baby sandals to the list of things I thought were ridiculous before having a baby girl, but now think are precious (it’s an ever-growing, embarrassing list).

I already owned the elastic I needed to make these shoes and only needed to buy a little bit of ribbon for the bows, so I’m not sure what the price would be if you were starting from scratch--I’m going to guess in the $2-5 range. Much less expensive than a pair of store bought shoes, totally comfortable for baby, and easy to customize to go along with whatever outfit you’re trying to match. And not turning on the sewing machine is always a plus in my book.

Get the tutorial to make these easy no-sew Glitter Bow Baby Barefoot Sandals!

To make these sweet little sandals, you’ll need:
- a small amount of fold-over elastic (I used about 16 inches total). My elastic was leftover from making a batch of baby headbands, and was purchased from Elastic By The Yard on Etsy. I suppose you could use regular elastic for these if that’s what you already own, but fold-over elastic is slim and a bit shiny, so it looks really nice for a project like this, plus it’s smooth and soft, so I bet it’s more comfortable for little feet.
- a small amount of glitter ribbon (or, you know, whatever ribbon you want). I got this gold glitter ribbon at Walmart, and bought 1/2 yard. I still have quite a bit left over.
- hot glue gun

Step 1: Cut a length of ribbon that can wrap comfortably around baby’s ankle and the bottom of her foot. For Darcy (currently almost 9 months), this was about 7-8 inches. Lay it out in a Z shape.

DIY no-sew barefoot baby sandals tutorial

Step 2: Bring the top end of the Z down and hot glue it to the middle of the center piece.

DIY no-sew barefoot baby sandals tutorial

Step 3: Bring the bottom end of the Z up and hot glue it over the top piece. Look, it’s an 8. Nifty.

DIY no-sew barefoot baby sandals tutorial

Step 4: Bow time! Hot glue a small piece of ribbon—about 3-4 inches—in a loop.

DIY no-sew barefoot baby sandals tutorial

Step 5: Cut a 2- or 3-inch length of ribbon in half lengthwise.

DIY no-sew barefoot baby sandals tutorial

Step 6: Pinch the loop into a bow shape and glue a small length of one of these strips around the center. Cut the second strip into 2 pieces and trim the ends into points.

DIY no-sew barefoot baby sandals tutorial

Step 7: Glue these two pointed strips to the bottom of the bow, then hot glue the bow onto the elastic.

DIY no-sew barefoot baby sandals tutorial

Ta-da! Quick and painless. Slip the upper loop around baby’s ankle, and the lower loop right underneath her foot. Baby girl be stylin’ and fancy.

DIY no-sew barefoot baby sandals tutorial

Friday, July 5, 2013

Baby Girl Nursery Inspiration

Goodbye, craft room. You will be missed. Well, sort of. I will not miss your constant state of disarray, the untanglable mass of knotted yarn blobs in your closet, and your complete lack of organization. Hopefully I can create in you a state of order, peace, and harmony that was never present there before.

I’ve been checking out nursery ideas, and I have to tell you . . . girl stuff is over. the. top. Whoa. Really, just search ‘baby girl nursery’ on Pinterest. Did you even know there were so many shades of pink in existence? Were you aware that every wall must be decorated with a gigantic vinyl cutout of some sort? (Acceptable choices: owls, huge monograms, quotes in cursive.) That all bedding/pillows/curtains must meet government-regulated minimum ruffle counts? I never realized there were SO MANY WAYS to display a baby’s name/initials. Or that it was necessary to do so. Will I not be allowed to bring my baby home from the hospital unless I can prove she has at least one cutesy-crafty version of her name on display [in pink!!! everything pink all the time always!!!] in her room? It’s overwhelming.

In short: I’m not sure I’m prepared to properly tackle a Pinterest-worthy, blogger-style baby girl bedroom. The ultra-girly, super-ruffly, extra pink with a side of pink bedrooms are cool, and fun to look at, and were probably a blast to design and I’m sure their babies + moms love them, but . . . I’m a simple girl with simple tastes. I like things kind of quiet, and easy, and I think less is definitely more. There won’t be gigantic poufy tissue balls in my baby’s nursery, and I will not spend $4 million to transform this empty room into a pinktastic fairy princess playground. Maybe I’m boring. It’s very possible. But the quiet, subtle, simple rooms speak to me. (Am I sounding anti-pink? I’m not anti-pink. Just getting pinked out from all my nursery browsing. So much pink.)

Nursery Inspiration

(Photo sources, clockwise from top left: Allegra’s Nursery, Herringbone Art, BHG Color Palette, Lily Pad Cottage, Love print, crochet giraffe made by me.)

After much perusing of Pinterest/blogs/magazines, I’ve decided that the rooms I am almost always drawn to are simple and understated, with plenty of quiet neutrals and the occasional burst of color via accessories or fabric or wall art. Which is a very convenient preference, since that room is already painted a soft, quiet gray (woohoo! no painting!). Check out those two bedrooms in the collage up there—I love that they are mainly quiet and soothing with soft wall colors and plenty of whites/grays, and all the color comes from little bursts here and there in the blankets or pillows or wall art. They’re fun rooms and interesting to look at, but I find them very comfortable and peaceful. I could feel at home in those rooms, and hopefully baby girl will, too.

The other photos in that collage are some ideas for color bursts—my little giraffe was made with the intention of bringing a pop of color into the room, to be placed on a shelf or a rocker or a dresser. The LOVE print is fabulous, isn’t it? I don’t know if I’ll use it, exactly, but I love its whimsical, handmade look, and want to incorporate something similar. I’m leaning towards that blue/yellow/magenta color scheme on the middle right, and I might try my hand at some hand-painted art for the room, maybe something like these herringbone canvases.

I’ve got a lot to do.

Friday, June 21, 2013

Striped Crochet Giraffe

So I’ve been brainstorming and collecting ideas for our soon-to-be baby girl’s bedroom, which naturally means I have a new crochet project to share. The first step in planning a new room, as any professional will tell you, is to stop planning the new room and crochet something to go inside it instead.

As I’ve been browsing nursery pictures to figure out the look I want to go for in her bedroom, I keep gravitating to the same sort of style: very simple, very clean-looking white/gray spaces that just have little bursts of color tossed in with wall art/pillows/accessories. And since that room is still packed to the gills and ready to puke forth its mess of craft supplies and discarded projects and miscellaneous crap that gets tossed in when we’re too lazy to find real homes for it, I figured I’d start small (and start far, far away from that scary messy room) with a crochet project that fits into my ‘pops of color’ bedroom plan.

Stripey Crochet Giraffe by maybe matilda

How cute is that? I used this free pattern HERE for my little giraffe, and figured this was a good opportunity to use up some yarn I already have rather than go out and shop for something new. To tell you the truth, mixing colors like this scares me. I don’t mix colors. But I decided to go big for this little project, and I think she’ll make a great pop of color perched on a dresser or bookshelf in the baby’s room.

Crochet Giraffe by maybe matilda

I thought there were a few confusing spots in the pattern (rows that didn’t add up to the right stitch count, or notes added in later that I wasn’t sure how to interpret), but it seems to have worked out (and sadly, if any of you have questions, I’m afraid I’m not going to remember what I did). I need to work on crocheting as tightly as humanly possible in amigurumi—there are a few spots on this giraffe that look like they’re stretched mighty thin over the stuffing, but it is murder on the hands to crochet that tightly. I need a massage, stat.

DSC_0040

And amidst all this colorful, baby-hormone-ridden cuteness, let’s not forget the little man of the house and the reality check that his PMS mood swings always bring about. He literally jumped in front of the camera for the picture above, and when I suggested he go stand by the giraffe for more pictures, he trotted over excitedly ("Yeah! Forry pitcho!”) aaaaaaaaaand:

DSC_0042

. . . promptly changed his mind about the whole idea. At least this gives you a sense of scale on the giraffe.

Also, this real conversation really happened when he first saw the giraffe.

Forrest: Is nice goat. Pet the goat.

Me: It’s not a goat.

F: Oh. Nice moose. Pet the moose.

DSC_0047

Never a dull moment with this one. Let’s hope little missy is a bit more even-tempered.

Wednesday, February 13, 2013

Crochet Dog Stuffies for Valentine’s Day

I’m not all that into Valentine’s Day. I mean, it’s nice, and I always appreciate getting a card or candy or flowers or something, but my husband and I don’t typically make a big deal out of it. We went to Chili’s last weekend . . . that’ll probably count as our Valentine’s date. Chili’s! The ribs! The romance!

But now that we have this little boogerface stinking up our house, I kind of want to make it a fun day for him. So we’ll be spending today baking up Valentine’s goodies, and I can’t wait to give him his present tomorrow . . .

Crochet Amigurumi Dog by maybe matilda

A little crochet puppy! He’s cute, huh? The sweater gets me. It gets me every time I look at him. Forrest is pretty into puppies (and kitties aka ‘titties’; yes, that’s right, titties) at the moment—his new favorite game is coming up to me while I’m on the couch, meowing or barking at me, then saying, “gent-oh? gent-oh?” (which is how we try to remind him to pet nicely, I think he thinks ‘gentle’ just means ‘pet’) and waiting to be petted or have his belly rubbed. It’s pretty sweet. I hope he likes his little puppy dog.

And I couldn’t resist showing him off to my sister ahead of time, and she liked him a lot, too, so guess what she is also getting tomorrow?

Girly Puppy Amigurumi by maybe matilda

The girly version! I like this one even better than the one I made for my son. I like the colors better, and I did a better job with placing the facial features. I almost don’t want to give her away.

Amigurumi Dogs

I used the Amigurumi Dog pattern from Lion Brand Yarn, and they were a cinch to work up. Relatively quick (although making all the separate pieces is kind of slow and tedious, I’ll admit), but overall a very simple pattern. I wasn’t crazy about the ears in the pattern, so I went for a more folded-over look instead. I like how they turned out.

Crochet Puppy by maybe matilda

A moody close-up. She’s pondering the state of the economy, or maybe thinking about something deep like . . . I don’t know . . . the poetry of . . . Ginsberg? (The only name that comes to mind . . . it’s early, I’m still waking up, cut me a break.)

I tossed up some listings in my shop for custom versions of these little puppies—you can find the boy puppy HERE and the lady puppy HERE, and message me for a discount if you plan to buy two or more! As always, feel free to play around the colors when you order . . . I’ve got a nice big yarn stash, just begging to be used in whatever creative color combos you come up with.

Did you make any Valentine’s gifts this year?

Monday, March 19, 2012

5 Berries Dresses (and pattern giveaway)

It’s official: I’m going to need a daughter someday. You got that, Universe? Message received? I sure love my little fellow, but I can’t deny that sewing for little ladies is just a lot more fun than sewing for misters.

DSC_0550a My little niece up there thinks so, too.

Tanya from 5 Berries Sewing Patterns offered me a pattern to sew up and review, as well as over $70 in patterns to give away to you guys . . . yowza!

 Untitled-2

I chose the Eloise Dress pattern—I loved the classic shape and the playful, feminine ruffle around the keyhole . . . adorable!

DSC_0546b It was so much fun to sew, and I love the finished dresses on my pretty nieces! I think they like their new dresses, too . . . their mom reports that they refused to take them off for the rest of the day, even after a rough-and-tumble playground session in them (during an afternoon that was probably a tad chilly for sleeveless outfits). I’ll consider that a success.

DSC_0554 All right, let me tell you a little about the pattern and my thoughts on sewing with it. All of the patterns from 5 Berries are instant downloads, which is awesome—that means no waiting for the pattern to be emailed or snail-mailed to you. When I buy patterns, I’m excited to start them now, so it’s awesome to be able to get going right away without a wait!

The pattern itself was extremely detailed and well-written. I always get a little nervous sewing clothing—I love to sew, but clothing is not my forte and I don’t have tons of experience sewing clothing from start to finish. But even though the pattern I chose is rated an intermediate level, I didn’t have any major issues while working on it—the instructions were well-written and detailed, and there was a photo to help explain every step along the way. The only question I had while sewing might be obvious in the picture above—the skirt isn’t as full and gathered on the black/white dress as the pink version of the dress, because I misinterpreted the instructions and only cut the skirt half as wide as I should have—whoops! It still came out adorably cute and is plenty wide for playing in, and Tanya even changed the directions in the pattern to make it clearer so no one else will make my silly mistake again. It’s pretty near foolproof now!

DSC_0542 My favorite feature of the pattern was the plentiful photos throughout—I find that so helpful when I’m sewing! The directions themselves were clear, but there were photos for every step, making it almost impossible to mess anything up or misinterpret instructions. I loved having the photos to refer to as I sewed . . . they really helped me create a more professional-looking product and avoid unnecessary mistakes.

DSC_0555 I even learned an important sewing skill that I’ve been terrified to try until now: buttonholes! I love the look of the buttons on this dress . . . it almost reminds me of a wedding dress with buttons from the neck to the hemline. And of course I had to go with purple buttons and a purple sash for this little princess’s dress. I’ll give you three guesses on her favorite color. (Answer: “poh-pole.”)

(And if the dresses look a little short on the girls, that’s my fault . . . I didn’t measure them for sizing [naturally] and didn’t take into account how tall they both are for their age! They’re definitely above average in the height department, so I should have cut the skirts a tad longer. Next time.)

collage And despite the dressier style, these dresses also make great outfits for playtime. They have plenty of room for little ones to climb, and run, and slide, and swing.

DSC_0521 Ahem. What? I had to try it on someone before giving it away! Jeff was horrified that I would put our son in a dress, but found comfort in the fact that he was clearly not enjoying himself.  Unlike a certain photo I have of Jeff himself as a toddler in a dress and hairbow, where he’s beaming and laughing in his getup. I’ll resist posting that picture. But I can’t help but notice that Forrest looks rather darling in that dress, wouldn’t you agree?

Okay, now for the giveaway!

5 Berries is offering two prizes today—a first place winner will receive $50 in patterns of their choice, and a second place winner will receive $22 in patterns of their choice!

To enter to win:

1) Visit 5 Berries Sewing Patterns, then come back here and leave a comment telling me your favorite pattern from the shop.

2) Give this giveaway a shout-out on facebook (something like: “I’m entering to win $50 worth of children’s clothing patterns from 5 Berries on Maybe Matilda!” with a link to this giveaway page), then leave a comment telling me you did so (as well as a link, please!).

There you have it! Please leave separate comments for each entry, and make sure I have a way to reach you, either by including your email address in your comment or by enabling email on your Google account (follow the instructions here).

One last thing!  Whether you win the giveaway or not, posting a link to this giveaway on your facebook page will earn you a 30% discount to use at 5 Berries on any amount of patterns! (I forgot to discuss with Tanya how to get/use your coupon code, so I’ve sent her an email and I’ll post with details later about how to redeem your coupon! Check back soon!)  

Friday, September 2, 2011

How to Crochet a Curlicue . . . and a Crochet Korker Bow Headband!

Have you ever wondered how people make these little yarn curlicue doodads? They're kind of cute, don't you think?

I was so intimidated by them when I learned to crochet--anything beyond a basic row or rectangle seemed frightening, and something that curled so nicely must certainly be horrific to try and make, right? So when I found out just how simple these guys are to make, I knew I had to pass it on. It's easy to get a bit carried away, since they're so quick and so satisfying to make:

And once you have a little bunch of them, you've got to put them to good use somehow . . . and I thought a crochet version of the good ol' korker bow we all know and love would be a great way to implement these fun little curlicues! (Also, I googled this . . . I think it may actually be an original idea. What what! Something new on the interwebs!)
(My poor son. He'll have so many things to tell his therapist someday. And he or she will definitely retire in style to the Bahamas, courtesy of me and my many offenses toward my poor baby boy. But lest you think he's too abused, he definitely puts up a good fight during our modeling sessions lately . . . )
 (Gone are the days when he'd just lie there like a cute little lump smiling at me with hats and headbands on his head . . . sometimes--especially when I'm holding a camera--I really miss those days.)

Anyway, I think this headband (and especially those colorful curlicues!) is so sweet . . . wouldn't it be particularly fun on a birthday girl? It kind of makes me think of curled gift ribbons on top of a pretty present:
Want to  make your own little crochet curlicue? They're so easy, and you only need a very basic knowledge of crochet stitches. Here's a little help if you're new to crochet--you just need to know the chain stitch (which you can learn right over here) and the double crochet (click here to learn), and if you need to see them in action, just head to youtube and search for them there; you'll find tons of videos of people demonstrating these stitches.

I used scrap pieces of yarn (you don't need much) and an H hook, but size doesn't matter a whole lot. Start by making a chain that's as long as you want your finished curlicue to be, plus 2. So if you chain 10, for instance, and that looks about the length you want your curlicue to be, just chain 2 more for a total of 12.

Make one double crochet in the 3rd chain away from the hook, the one marked by the needle:
Your work should look like this now:
Now just go down the rest of your chain, working 2 double crochets in each stitch of the chain, like so (so you'll be doing one double crochet in the stitch, then another in the same stitch, before you move on to the next chain--2 double crochets in each.):
Now just fasten it off (click here for a how-to). When you get to the end, it might look a little weird--maybe it'll be a bit wavy, but in a pathetic, half-hearted way, or maybe it will just be a little half moon shape, like so:
But if you take one end and start to roll it, it will curl up into a cute little curlicue, just like you wanted it to:
You did it! So easy, right? Now, don't tell anyone how simple it is (let's keep it a little crochet secret, okay? everyone will think we're amazing), whip up a few more, and make a headband! (My curlicues ranged in length from a chain of about 9 to about 15--I wouldn't go much longer than 15, as they started to get a little out of control when I sewed them onto the headband.)
You'll have 2 yarn tails on each curlicue--the piece that you started with, and the tail that was left over when you finished it. Weave in the ending yarn tail (how to here), but keep the starting yarn tail for now. You'll need a headband to attach your curlicues to--I'm not coming up with a new pattern for you today, but I'll help you out . . . I highly recommend this headband pattern (it's the one I used to make the headband pictured here), or you could use the instructions for my knotted crochet headband (just leave out the knot and you're good to go!), or you could even use a store bought stretchy headband, or attach your curlicues to a clip and forego the headband altogether (also, blogger doesn't seem to recognize the word forego . . . it's a real word, blogger, get with the program. I'm not just making words up.).

Just take your starting yarn tail, weave it under a loop or two of the headband, back up into the curlicue, and tie a knot. Weave in the yarn tail like you did at the start and cut off the excess. Keep attaching your curlicues, packing them close together on your headband, and slip it on to somebody cute (preferably a girl, but hey, you've gotta work with what you've got):
Cute, don't you think? My husband literally laughed out loud when he saw these pictures, but I'll assume he was laughing at the idea of our little boy in a headband (nothing new around this house) and not at my korker bow idea. And I'll pretend he didn't elaborate on the reason for his laughter. Which he did. And directed it at the bow. But what does he know?

Also, I'm being featured on Who I Am at Whipperberry today--very exciting! I was pretty shocked that Heather would want to spotlight me there, and found it surprisingly difficult to write a little bio blurb for it. That little paragraph on her blog honestly took me about an hour. Anyway, head over and check it out! So exciting, because I love Whipperberry--it has a certain elegance that a lot of crafty sites don't have (this one most definitely included. I mean, I just crocheted a korker bow and put it on my son. And in the pictures where you can't see his hands, it's because I'm holding them down while I'm taking the picture. Obviously, I'm not going to be getting the Elegance Award anytime soon.). I'm very flattered, and I think I'll be blushing all day.

Monday, July 11, 2011

Violette Field Threads :: A pattern review, two cute girls in two cute dresses, and a giveaway!

*Giveaway closed! Thanks to all who entered, and congrats to Marcy, the lucky winner!*

I was contacted a few weeks ago by Ericka and Jessica, the masterminds behind Violette Field Threads on etsy, to do a pattern review and a giveaway. 

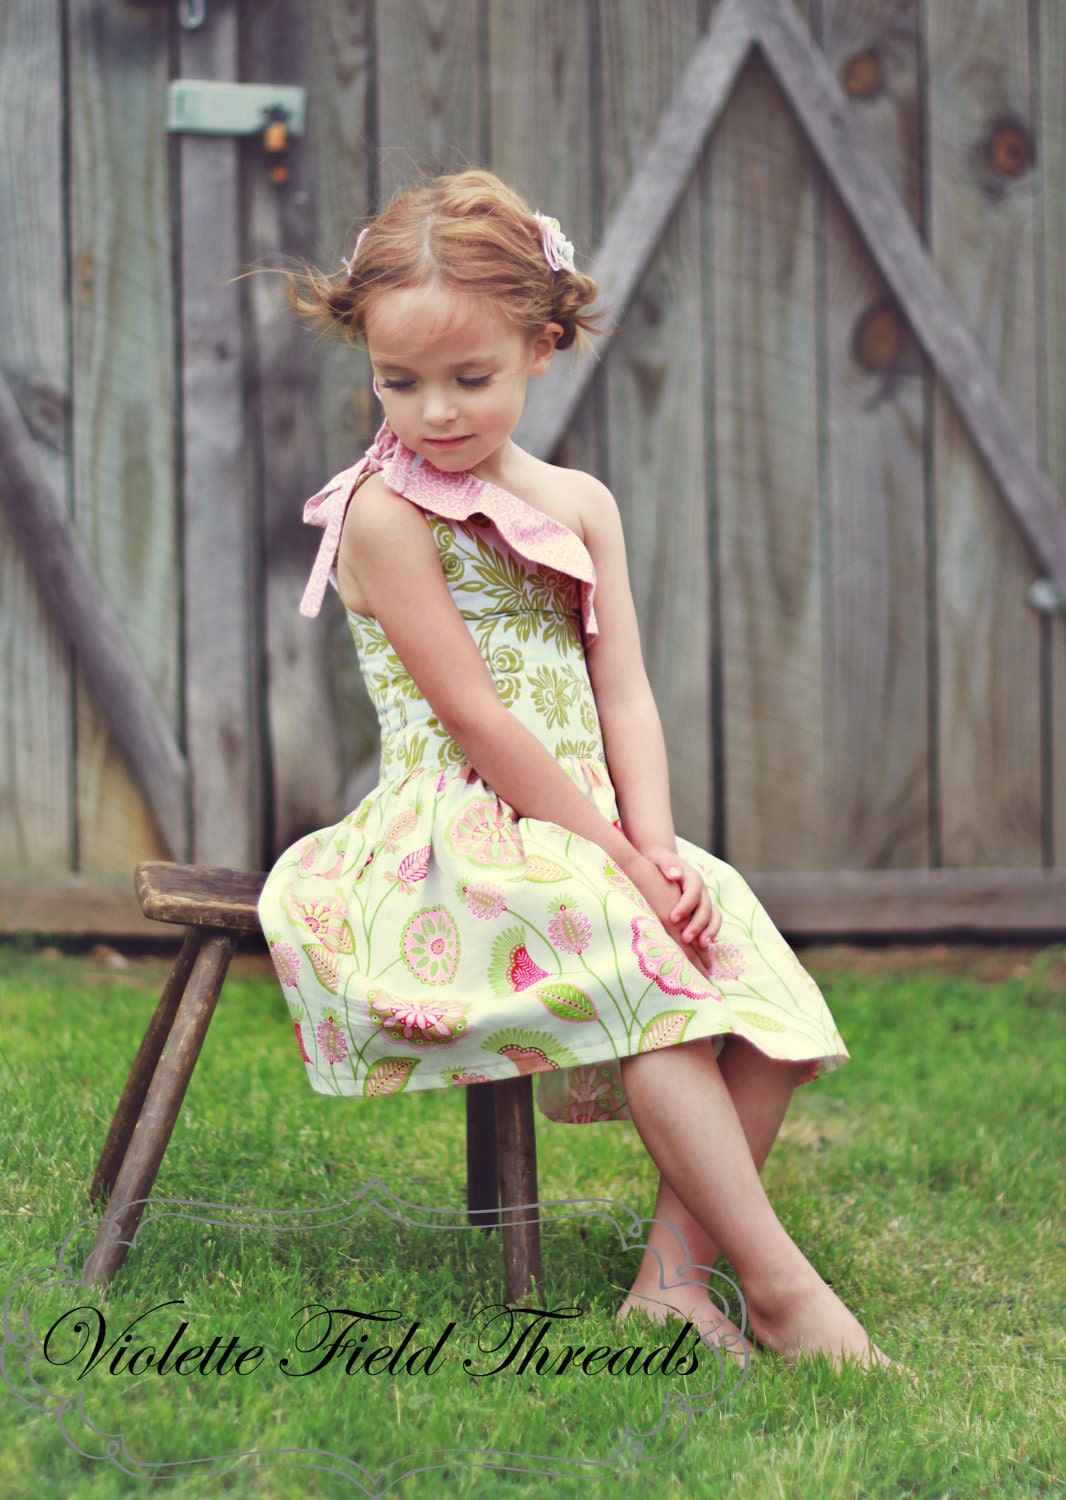
And after taking a peek at the beautiful patterns in their shop, I couldn't type "YES!" back fast enough! Their shop is filled with absolutely beautiful sewing patterns for your little princess . . . from boutique-style dresses like the Stella One-Shoulder Dress:
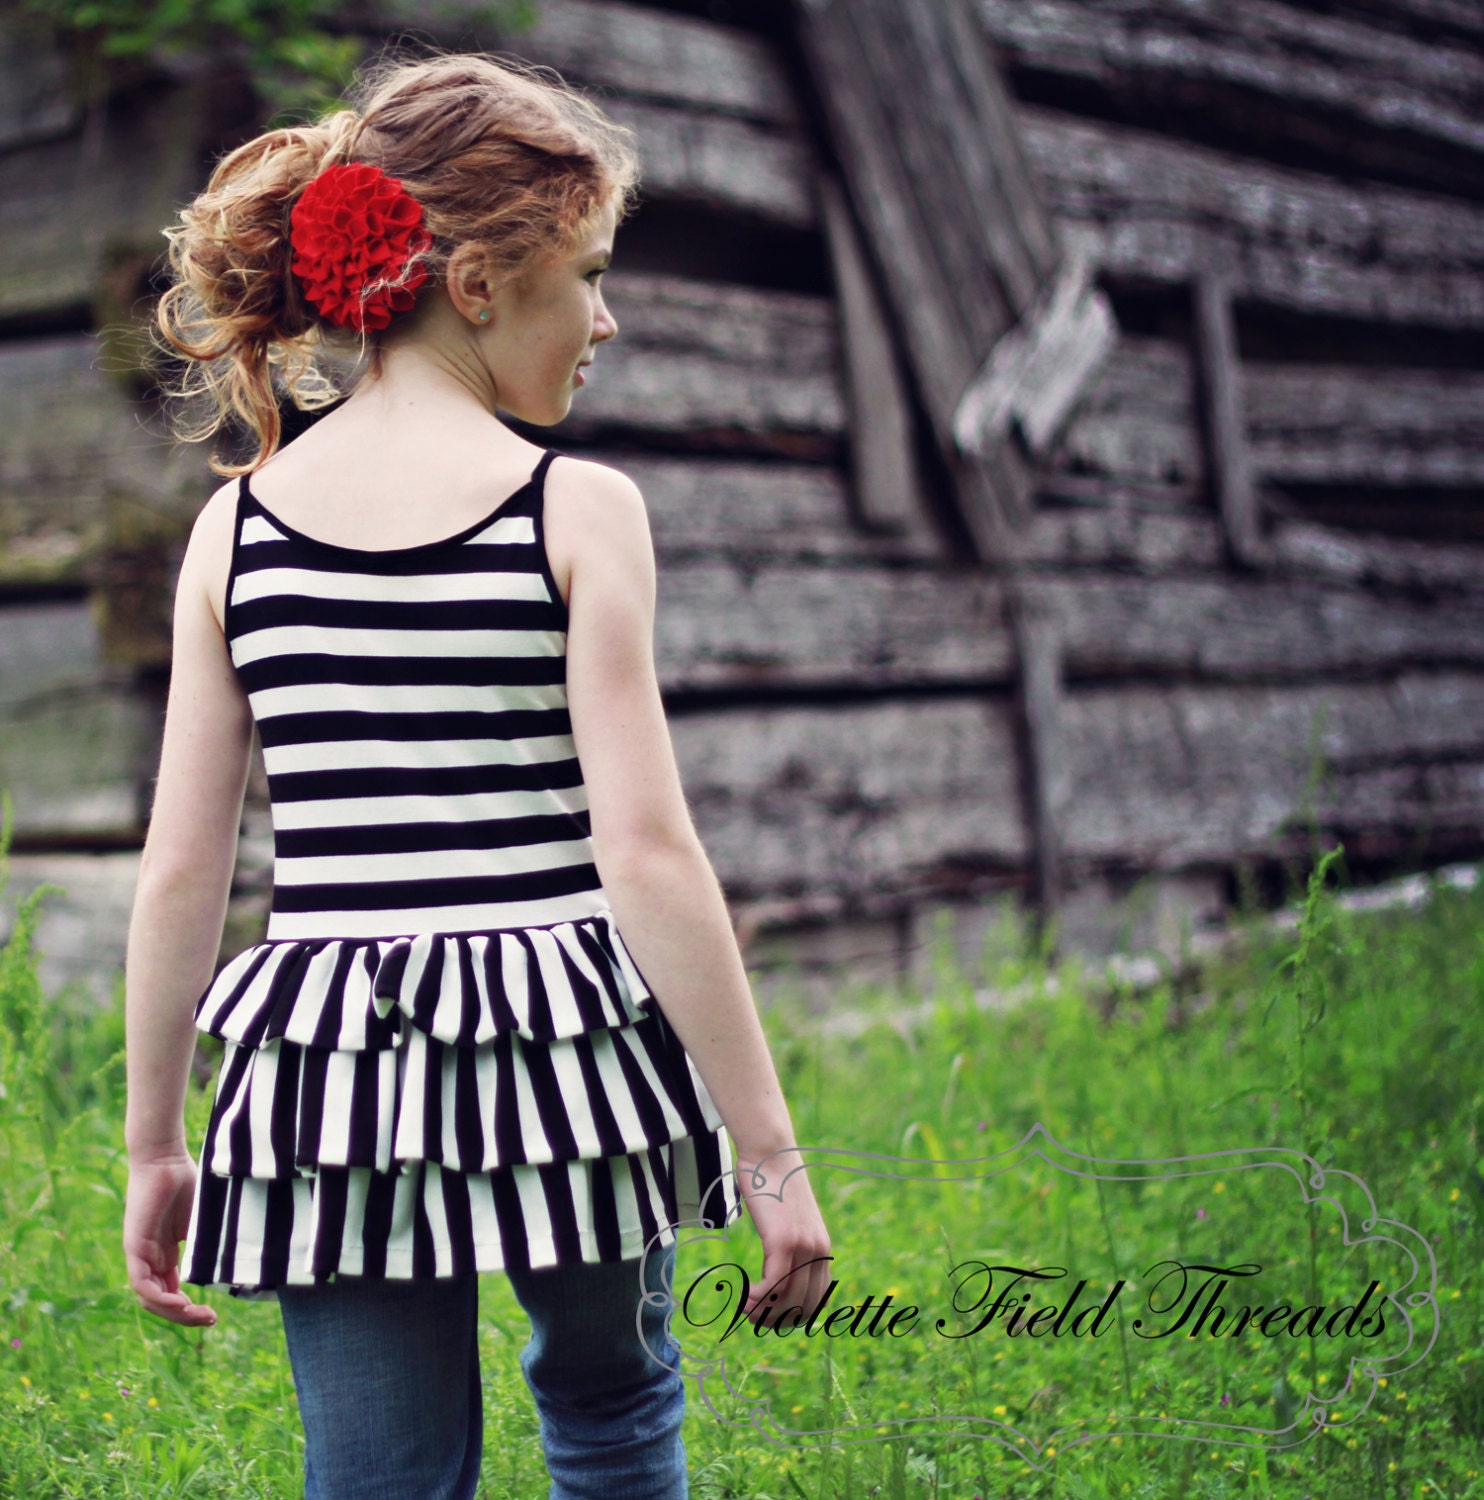
. . . to fun and quirky tops like the Olive Bustle Shirt:
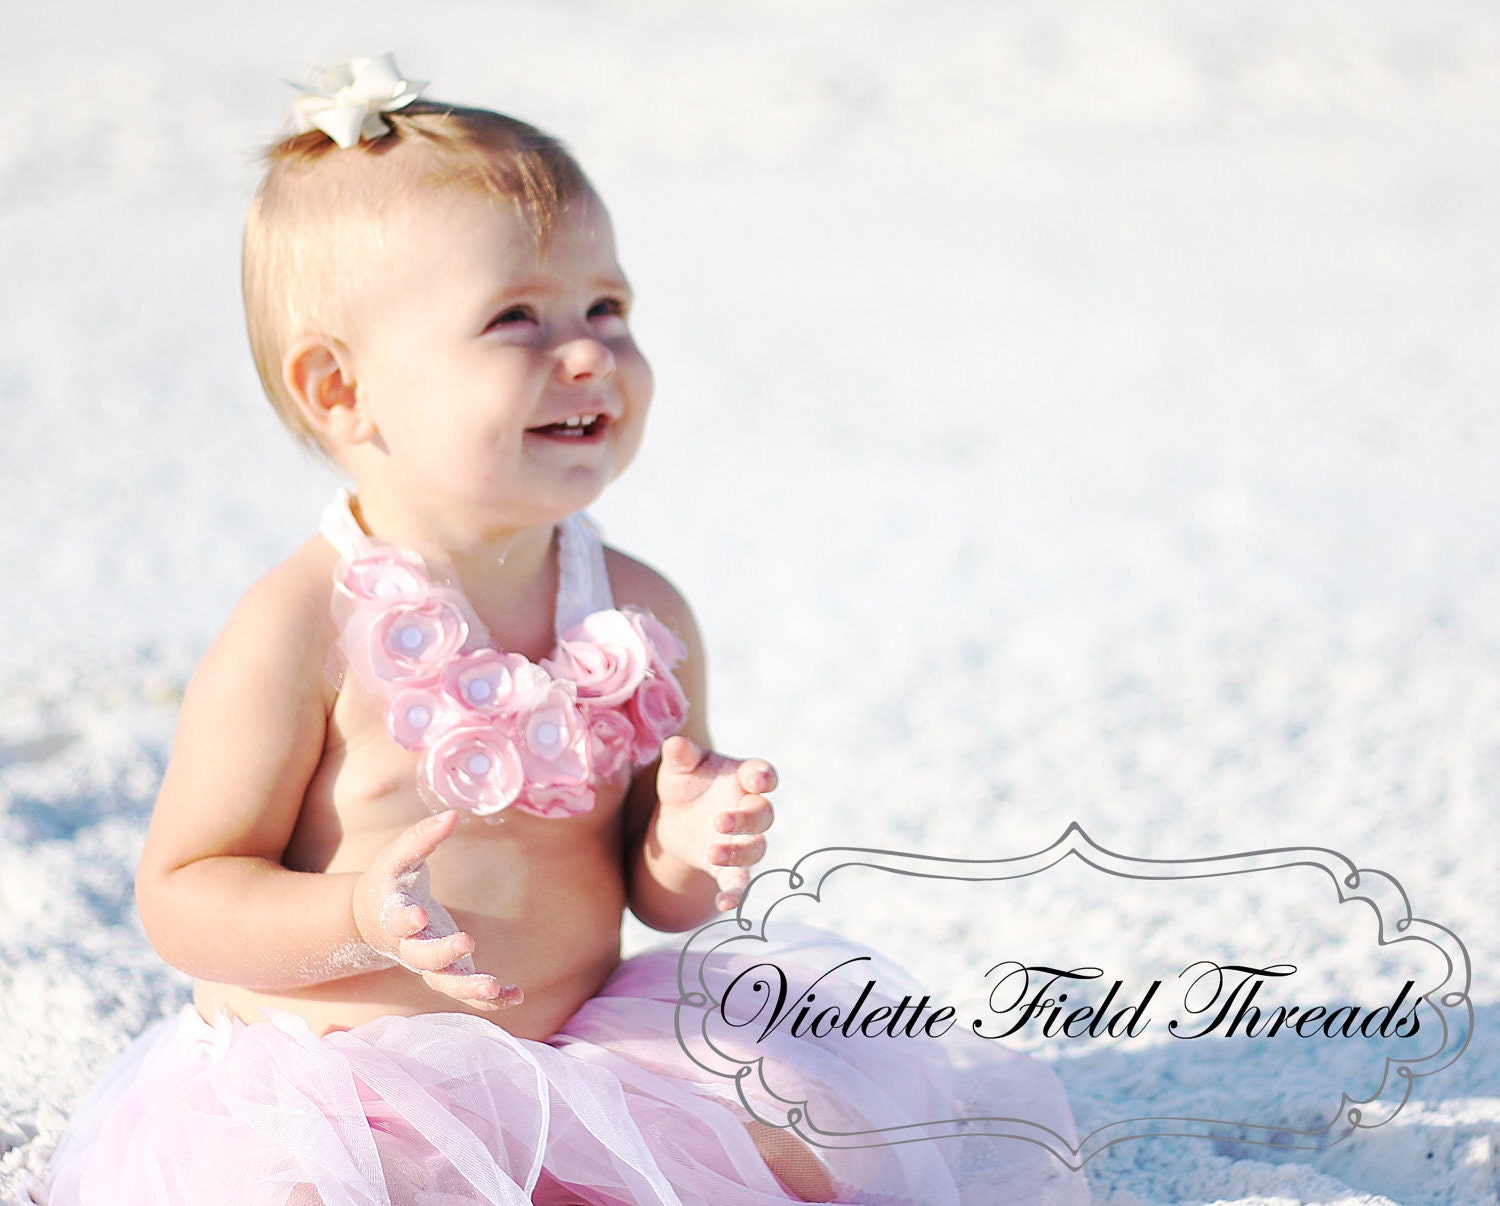
. . . to delicious accessories, like the Delilah Statement Necklace:
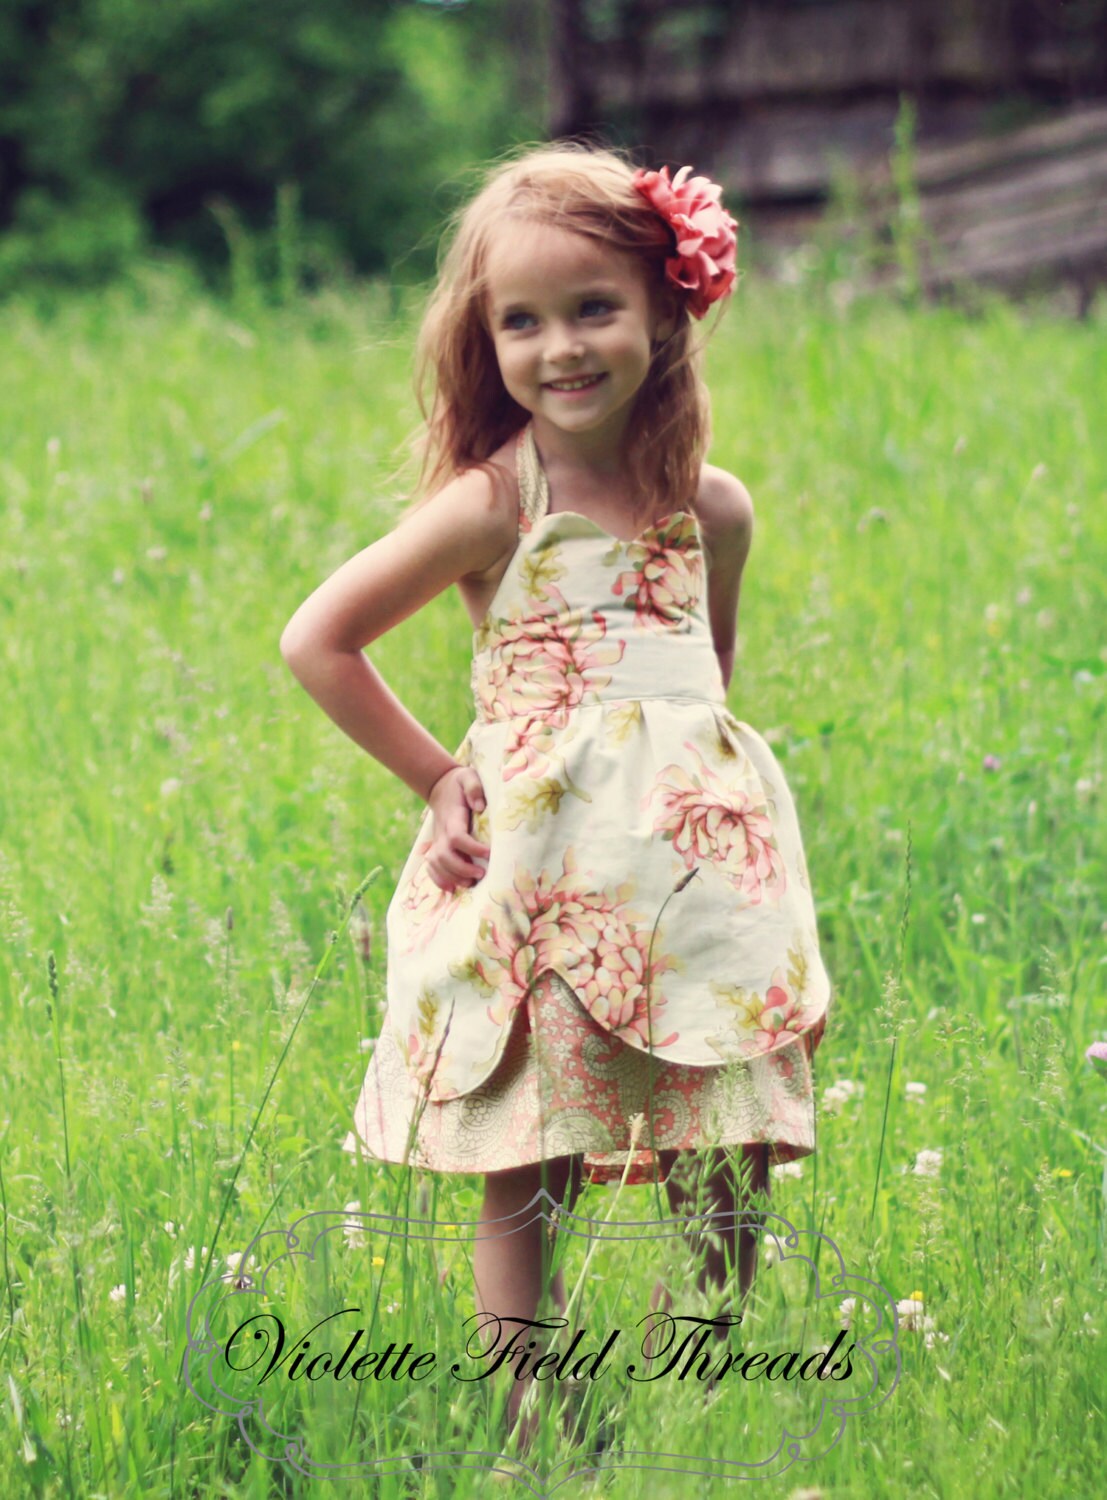
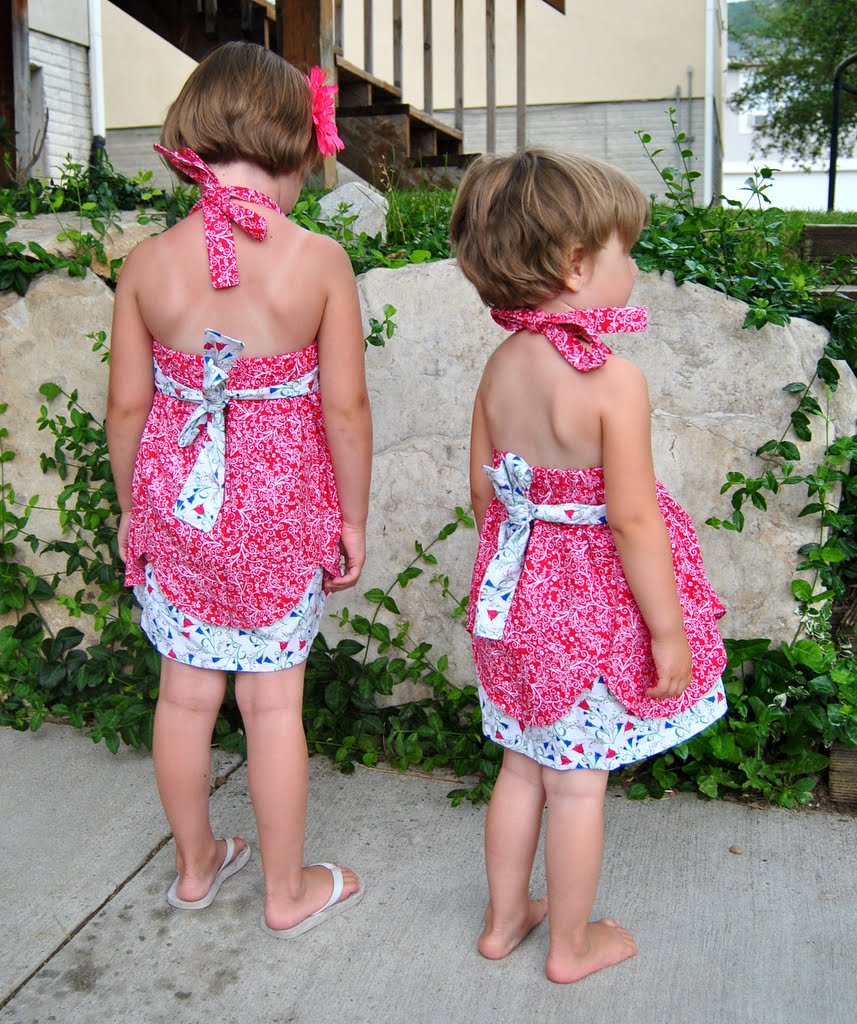
After drooling over all the lovely patterns in their shop, I decided that my two sweet nieces shouldn't go another day without wearing the darling Viola Sweetheart Dress . . . 
How cute is that? I just love the ladylike scalloped overskirt, and the sweetheart neckline is so fun. I'll admit--I was a little nervous to get started on it . . . if you've been around this ol' bloggy for a bit, you know that while I love to sew, making clothing from scratch is not my forte. But for a pattern that adorable, I was more than willing to give it a shot.
Success! Look how dang freaking cute my little nieces are in their Viola dresses! (By the way, little M on the right has a bright future in cosmetology--she gave herself and her sister haircuts the night before their family pictures were taken a week ago. The timing couldn't be more perfect, right?) 

I bought the fabric for the dresses before I had even received the pattern from Ericka and Jessica (I was that excited to get started)--it was one of the 50% off the red tag clearance fabric sales at Joann's, and you know I can't resist a deal like that, so I grabbed a couple yards and, if I had to guess, probably spent about $5 on fabric between the two dresses. 

(Fun fact: they were both still smiling while they modeled the backs of their dresses for me. Talk about cooperation!)

My main goal in sewing these dresses was to not sew any pieces on wrong--I have a real knack for sewing pieces on backwards, or with the wrong side out--and you're never going to believe it, but I (yes, I, Little Miss Seam Ripper) actually made it through two dresses without once having to tear anything apart and do it over. I'm giving all the credit to the excellent pattern . . . it was so incredibly thorough, with pictures every step of the way and detailed instructions that left me no room to sew bodices inside out or attach skirts upside down.
(Look at big A on the left! Do you want to give her kisses or what?! I totally do.)

These dresses honestly might be the most well-made things I've ever sewn, with every raw edge finished, top stitching galore, and nice straight seams. I don't mean to toot my own horn here, but . . . toot toot. These dresses rock, almost entirely because of a really, really great pattern that was smarter than I am and didn't let me make any stupid mistakes. And for how advanced the dresses came out looking, they really were not difficult to sew . . . at all.

So here's the fun part . . . do you have darling nieces or daughters or neighbors or friends or little-strangers-on-the-street that you want to prettify with the help of Violette Field Threads? Because one of you lucky ducks is going to win 3 patterns of your choice from their shop!

Here's how you can win:
(leave a separate comment for each entry, and make sure I have a way to contact you!)
1) Head over to Violette Field Threads on etsy and tell me which pattern you can't wait to get your paws on! 
2) Become a fan of Violette Field Threads on facebook! (leave a comment saying so)
3) Become (or already be) a follower of Maybe Matilda! (leave a comment saying so)

***EDITED! If you just can't wait to see if you're the winner, you can save 15% on your purchase from Violette Field Threads by entering coupon code MATILDA at checkout!

This giveaway will close a week from today--Monday, July 18th--so get cracking!

Monday, May 30, 2011

A Belated Spring Sweater Refashion

Do you ever have something totally crazy and hilarious happen to you and you know it would make, like, the blog post of the century? But you're afraid to write about it because it involves some acquaintances who may or may not read your blog and could possibly be offended if they read it? And you're trying to decide which is more important to you . . . maintaining a casual acquaintance-ship or writing a hilarious blog post? Well, that, friends, was my weekend. And while I try to figure out if I can/should make that blog post happen, you can read this unhilarious one instead.

I kind of forgot I had this project waiting in the wings to be posted until I stumbled across one of these photos today. I can't neglect my poor little forgotten project any longer--I'm sure it's feeling left out and depressed, waiting for its moment to shine. Here you go, little project, enjoy your 15 seconds of fame!

Little Girls' Spring Sweater Refashion
One of my best friends has a sweet little girl who just turned 3, and I wanted to make her something fun for her birthday. She's such a cheerful, spunky kid, so I wanted to make her something just as cute and happy as she is. 

We couldn't convince her to try it on for me at her birthday party, but who can blame her when she's surrounded by dozens of other presents to open? I'm impressed she could even pause long enough to hold it up so I could snap a picture of her with it--I would have been attacking all the other gifts if I were her.

Click read more below to see how I made it!
Related Posts Plugin for WordPress, Blogger...