It’s Dare to DIY time! This first week’s theme is Dare to Be Thankful. Honestly, I struggled with this theme. I couldn’t think of anything. And the very few things that did finally come to mind, upon googlization, had been done a thousand times before. I don’t know if that’s a good sign (inspiration abounds at my fingertips!) or bad (I can’t even come up with one stinking original idea without Pinterest proving that someone else has already done it better than I ever could). Another possibility: I’m just an ungrateful person.
")
I finally ‘thought up’ this ‘idea’ ‘all by myself.’ Seriously, I really thought I came up with this. Google/Pinterest searches (after I had already finished my project, of course) proved otherwise, but I truly don’t think I had seen this before, and I think it’s cute. Originality be damned! We had fun making it, I think it’s adorable, and so what if it’s already been blogged elsewhere. This is my version.

Forrest and I worked together to make some turkey handprint Thanksgiving goodies. A shirt for wearing, a dishtowel for keeping, and another to give away. And get this—we sort of had fun together making them. Weird, huh? I’ll admit it right here, right now: I’m not a fun mom. I don’t really like to do crafts or lessons or activities with my child. Hopefully CPS won’t come and haul him away after admitting that I don’t particularly enjoy doing this kind of stuff with him. So doing a craft project together was a first for us, and you know, it went all right. Better than I expected. Minimal tears. Not no tears (this is Forrest we’re talking about, let’s be realistic), but minimal tears.
Here’s what you’ll need to make this:

- acrylic craft paints in fall-ish colors (I used brown, golden yellow, orange, and red)
- Textile Medium (this can be purchased at most craft stores—you mix it with the paint to help it stick permanently to the fabric, even through washes and wear)
- white shirt (I picked this up in the boys’ section at Walmart) and/or white kitchen towels (also from Walmart) or whatever else you want to put your turkey handprints on . . . maybe a canvas for Thanksgiving art? Or an apron to wear while you make your Thanksgiving dinner?
- foam brushes (I didn’t have any on hand, so I just cut a sponge into a few strips instead—worked just fine!)
1. Start by mixing your paint with the fabric medium—the bottle will let you know what the ratio should be. Mine says 2 parts fabric medium to 1 part paint (but make sure to read the instructions on your own bottle—it might be different). I’m never very exact with this. I just eyeball it, and it always works out fine.

Put some newspaper down to catch any drips, and place cardboard between the layers of the shirt you’ll be ‘stamping’ onto, and underneath any other fabric you’ll be adding a turkey to.
(I’d definitely recommend doing a practice run first before going full throttle at your shirt or dishtowels. This will give you a chance to see how much paint is necessary, how hard your little one needs to press their hand down, and they can see what this is all about if they’re very young and don’t understand why their hands are being painted [lookin’ at you, Forrest].)
2. Use your foam brushes (or, in my case, sponge strips) to paint their palm and thumb brown, and use your other, brighter colors to paint their fingers.

( ^ that’s why you should put newspaper down)
3. Press their hand down onto the shirt/dishtowel/apron/whatever—straight down, push, then lift straight up without letting them wriggle their fingers around or rock side to side.

4. Admire that nice turkey!

5. If you’re handprinting more than one item, you’ll need to repaint your child’s hand after each ‘stamp’. Forrest did not like getting his hand painted at first, but once he realized it left a cool print behind, he was very excited about our little project and held out his hand for more.

6. Let your items dry for 24 hours. If you can be that patient. Then iron over the paint to set it. (Once again, make sure to read the instructions on your fabric medium—it’ll tell you exactly what to do to set the paint.)

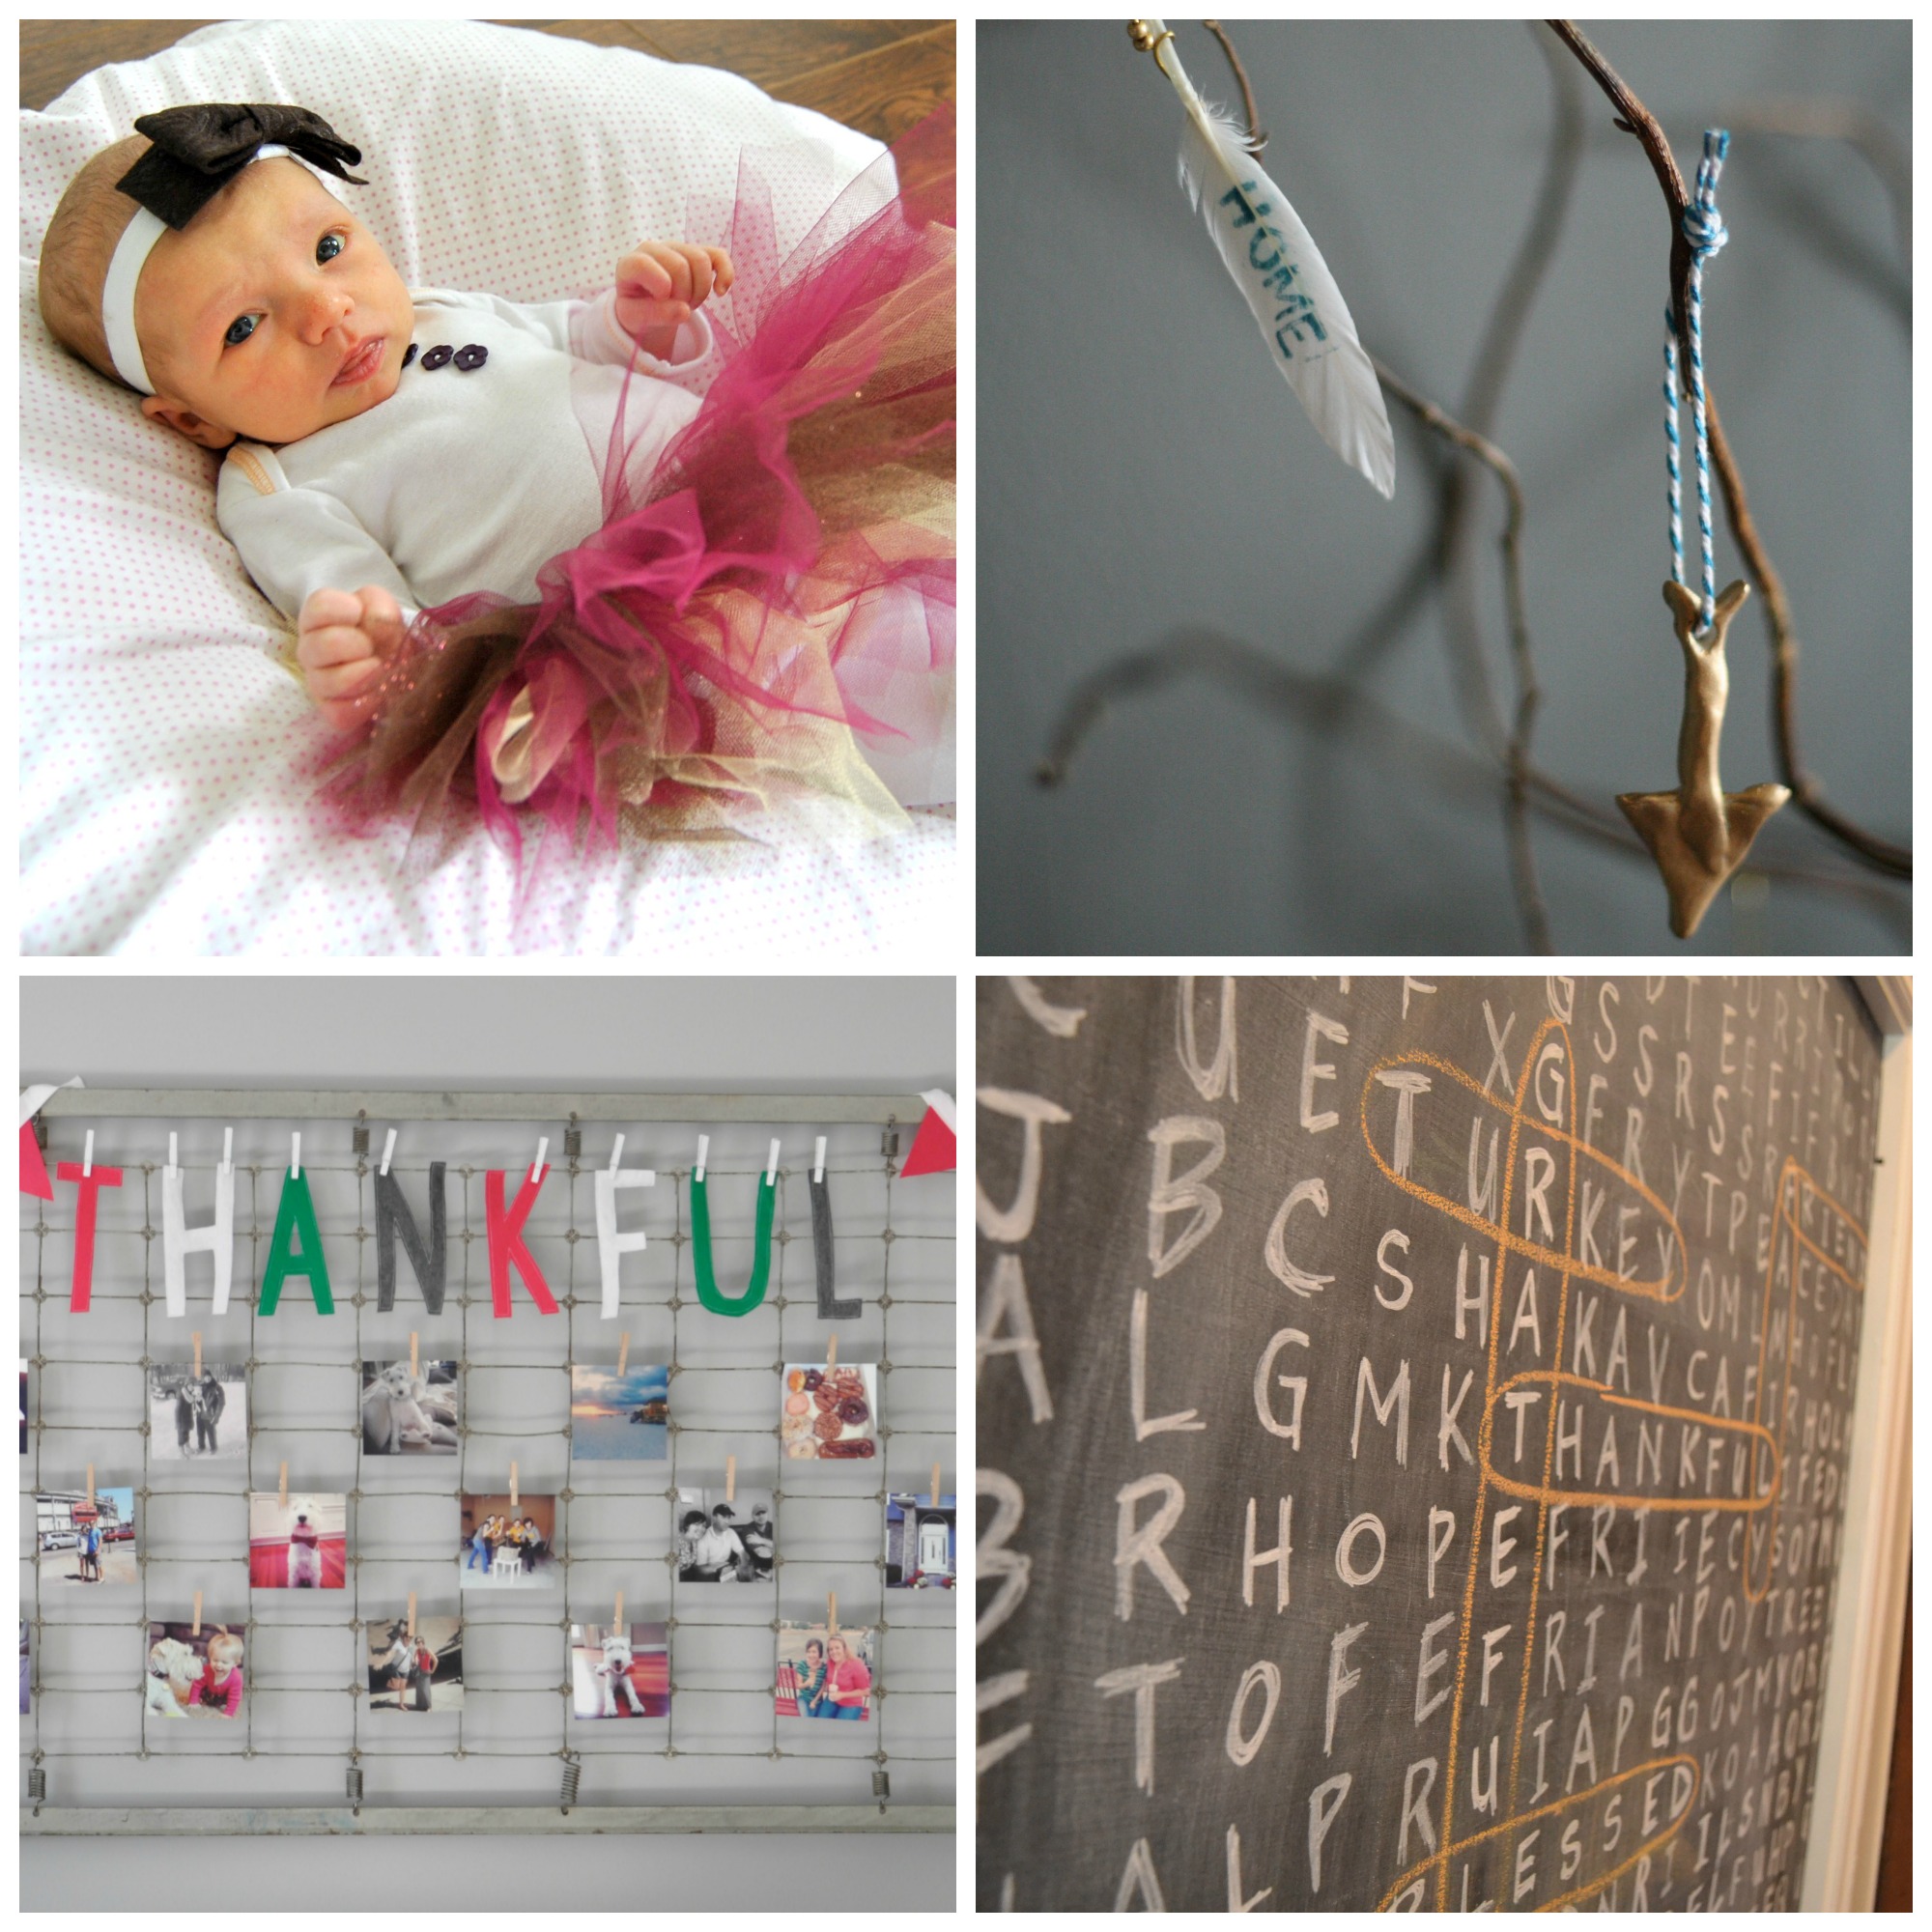
7. Add whatever embellishments you’d like to complete your turkeys—I hot glued a googly eye onto each one (hot glue on clothing sounds unstable to me, but I’ve used it before to put googly eyes on a shirt and it has held up just fine in the wash!), added a little beak with orange paint, and handstitched legs with embroidery floss.

I also think it would be cute to stamp or applique something like “gobble” or “give thanks” or “happy Thanksgiving” onto it, but I got bored and stopped here. And also accepted the fact that this is a white shirt on a 2-year old boy. It’s only a matter of time until it’s completely stained and ruined, so I should probably spend as little time/effort on it as possible. Simplicity!
Forrest seems kind of excited about the “BOHD!!!” (bird) on his shirt, and he loved seeing his handprints stamped onto the fabric, so I’m declaring this Thanksgiving project a success.

And in the interest of full disclosure (when have I ever lied to you?), I will not pretend this was all fun and games. I have a very contrary child. He loved the stamping. He did not love the modeling.

I really wonder what it would be like to have one of those ‘easy’ children I keep hearing about. Do they cooperate? Do they do what they are told? Even when the instructions are as cripplingly overwhelming as “sit on this chair and look at mommy?”

My only request is that you help me uphold the fragile façade of familial peace and tranquility in my household by refraining from pinning the above images. If word gets out that I, a creative blogger, am not pretending that my child is a perfect angel and our home is a proverbial heav’n on earth, I think I’ll be kicked out of the club.
Have you been working on your Dare to DIY project? I’m really excited to see all your links on Monday! Come back Monday to share your work. And make sure to swing by Two Twenty One, Décor and the Dog, and Newly Woodwards to see their Dare to DIY projects today!


 DIY outfit")


